AIO Aquarium Set Up Manual
Step1: Removing the all in one aquarium
Carefully cut open the box from the top to avoid scratching the glass sides.
Step 2: Placement
Place the AIO aquarium where you want to install it. These all in one aquariums are small and look great in kitchens, on desks or bed sides.
Avoid direct sunlight possible. The closer you are to a sink the better for maintenance
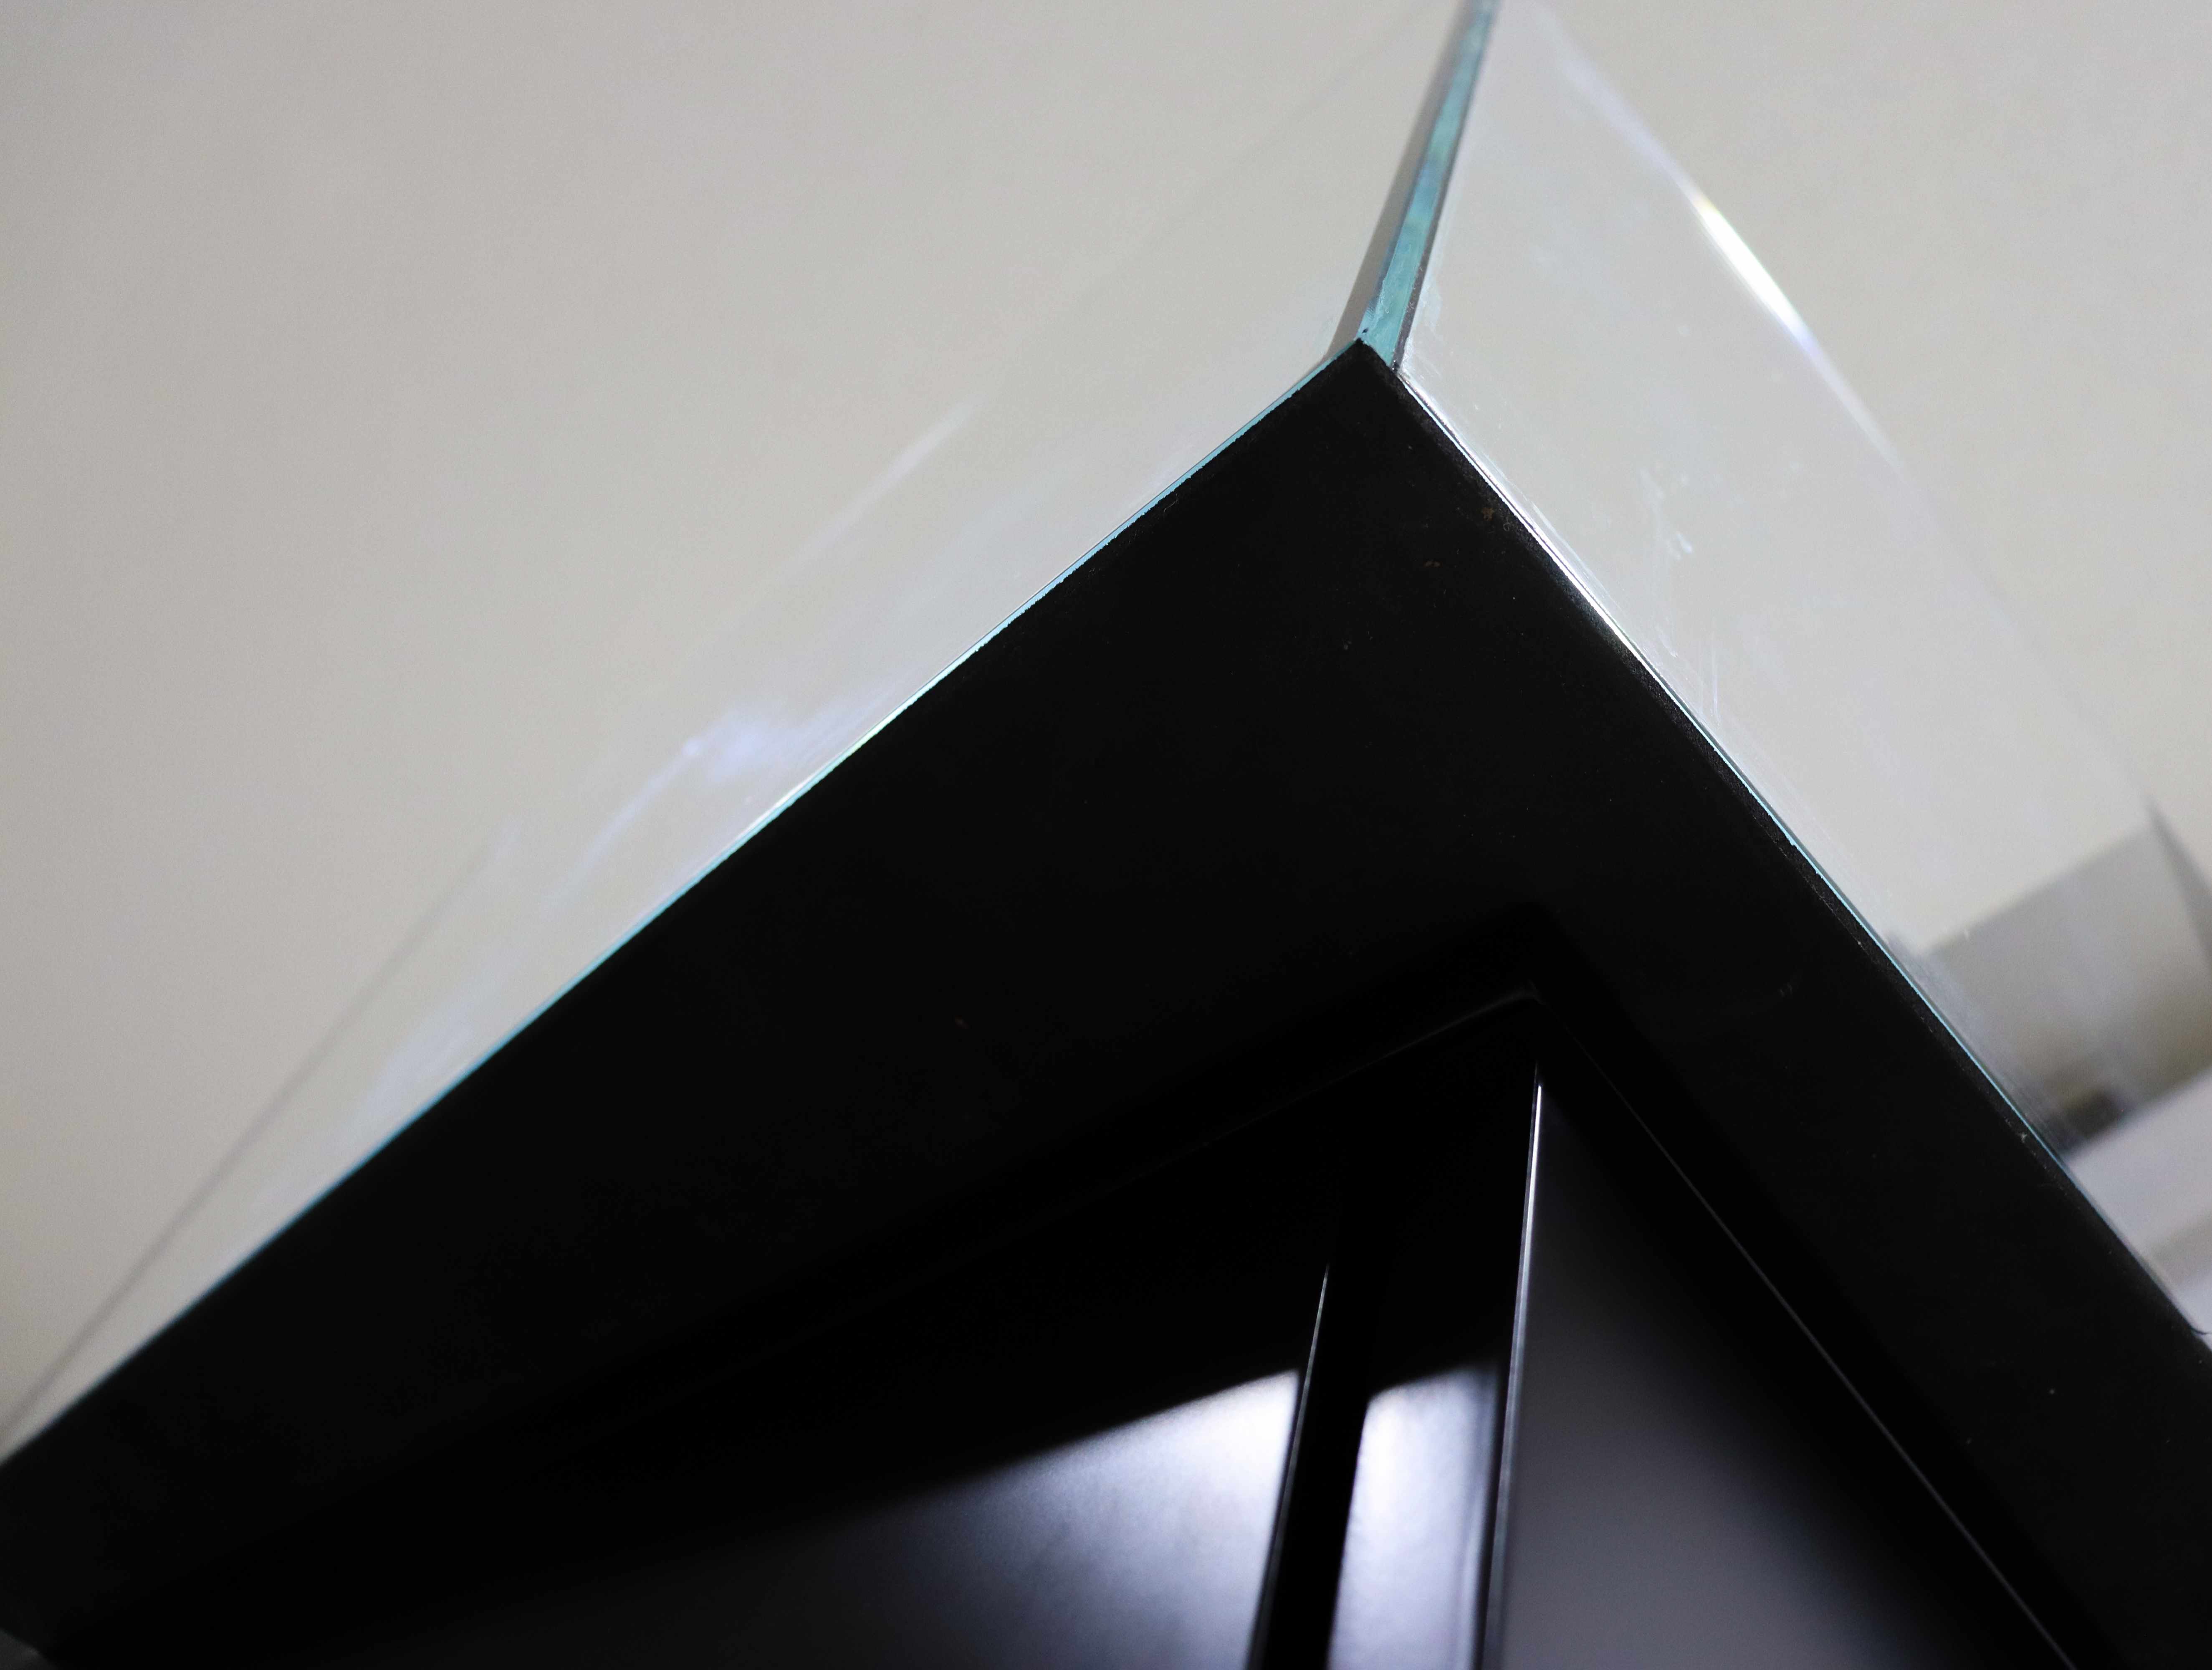
Ensure the self levelling black mat under the tank is squared up with the corners
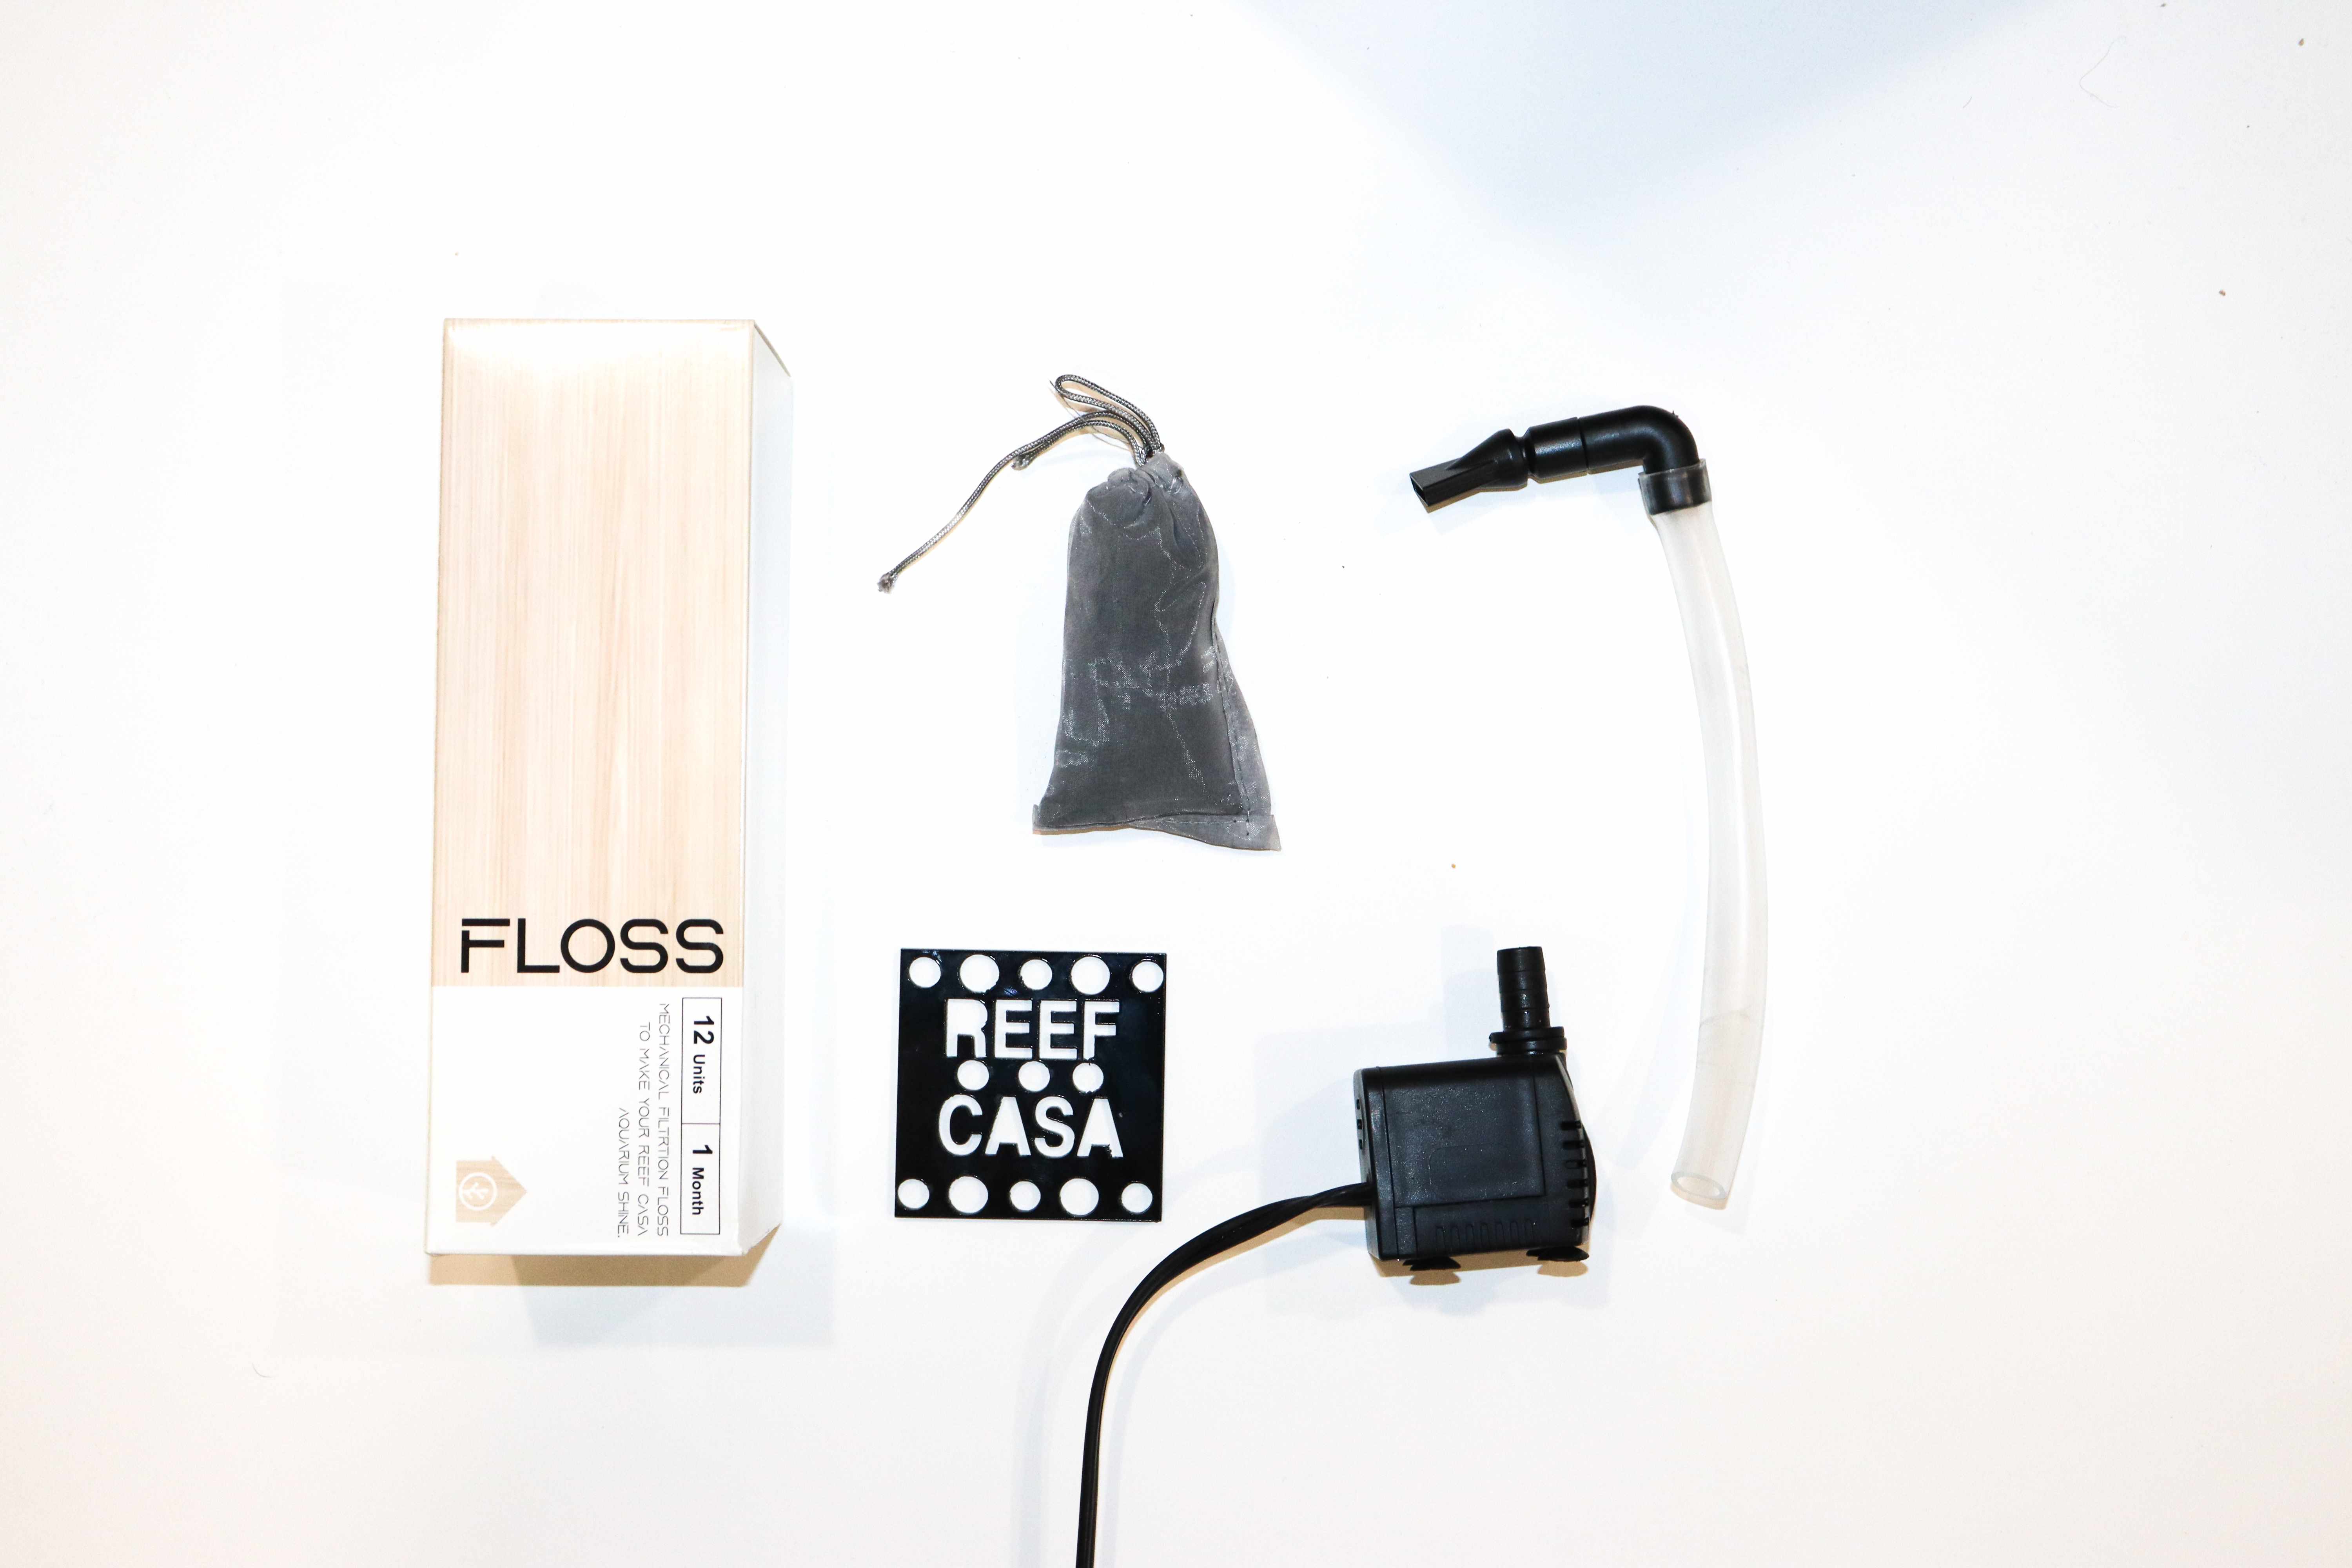
Step 3: Remove the included filter media, pump, plumbing and filter floss holder
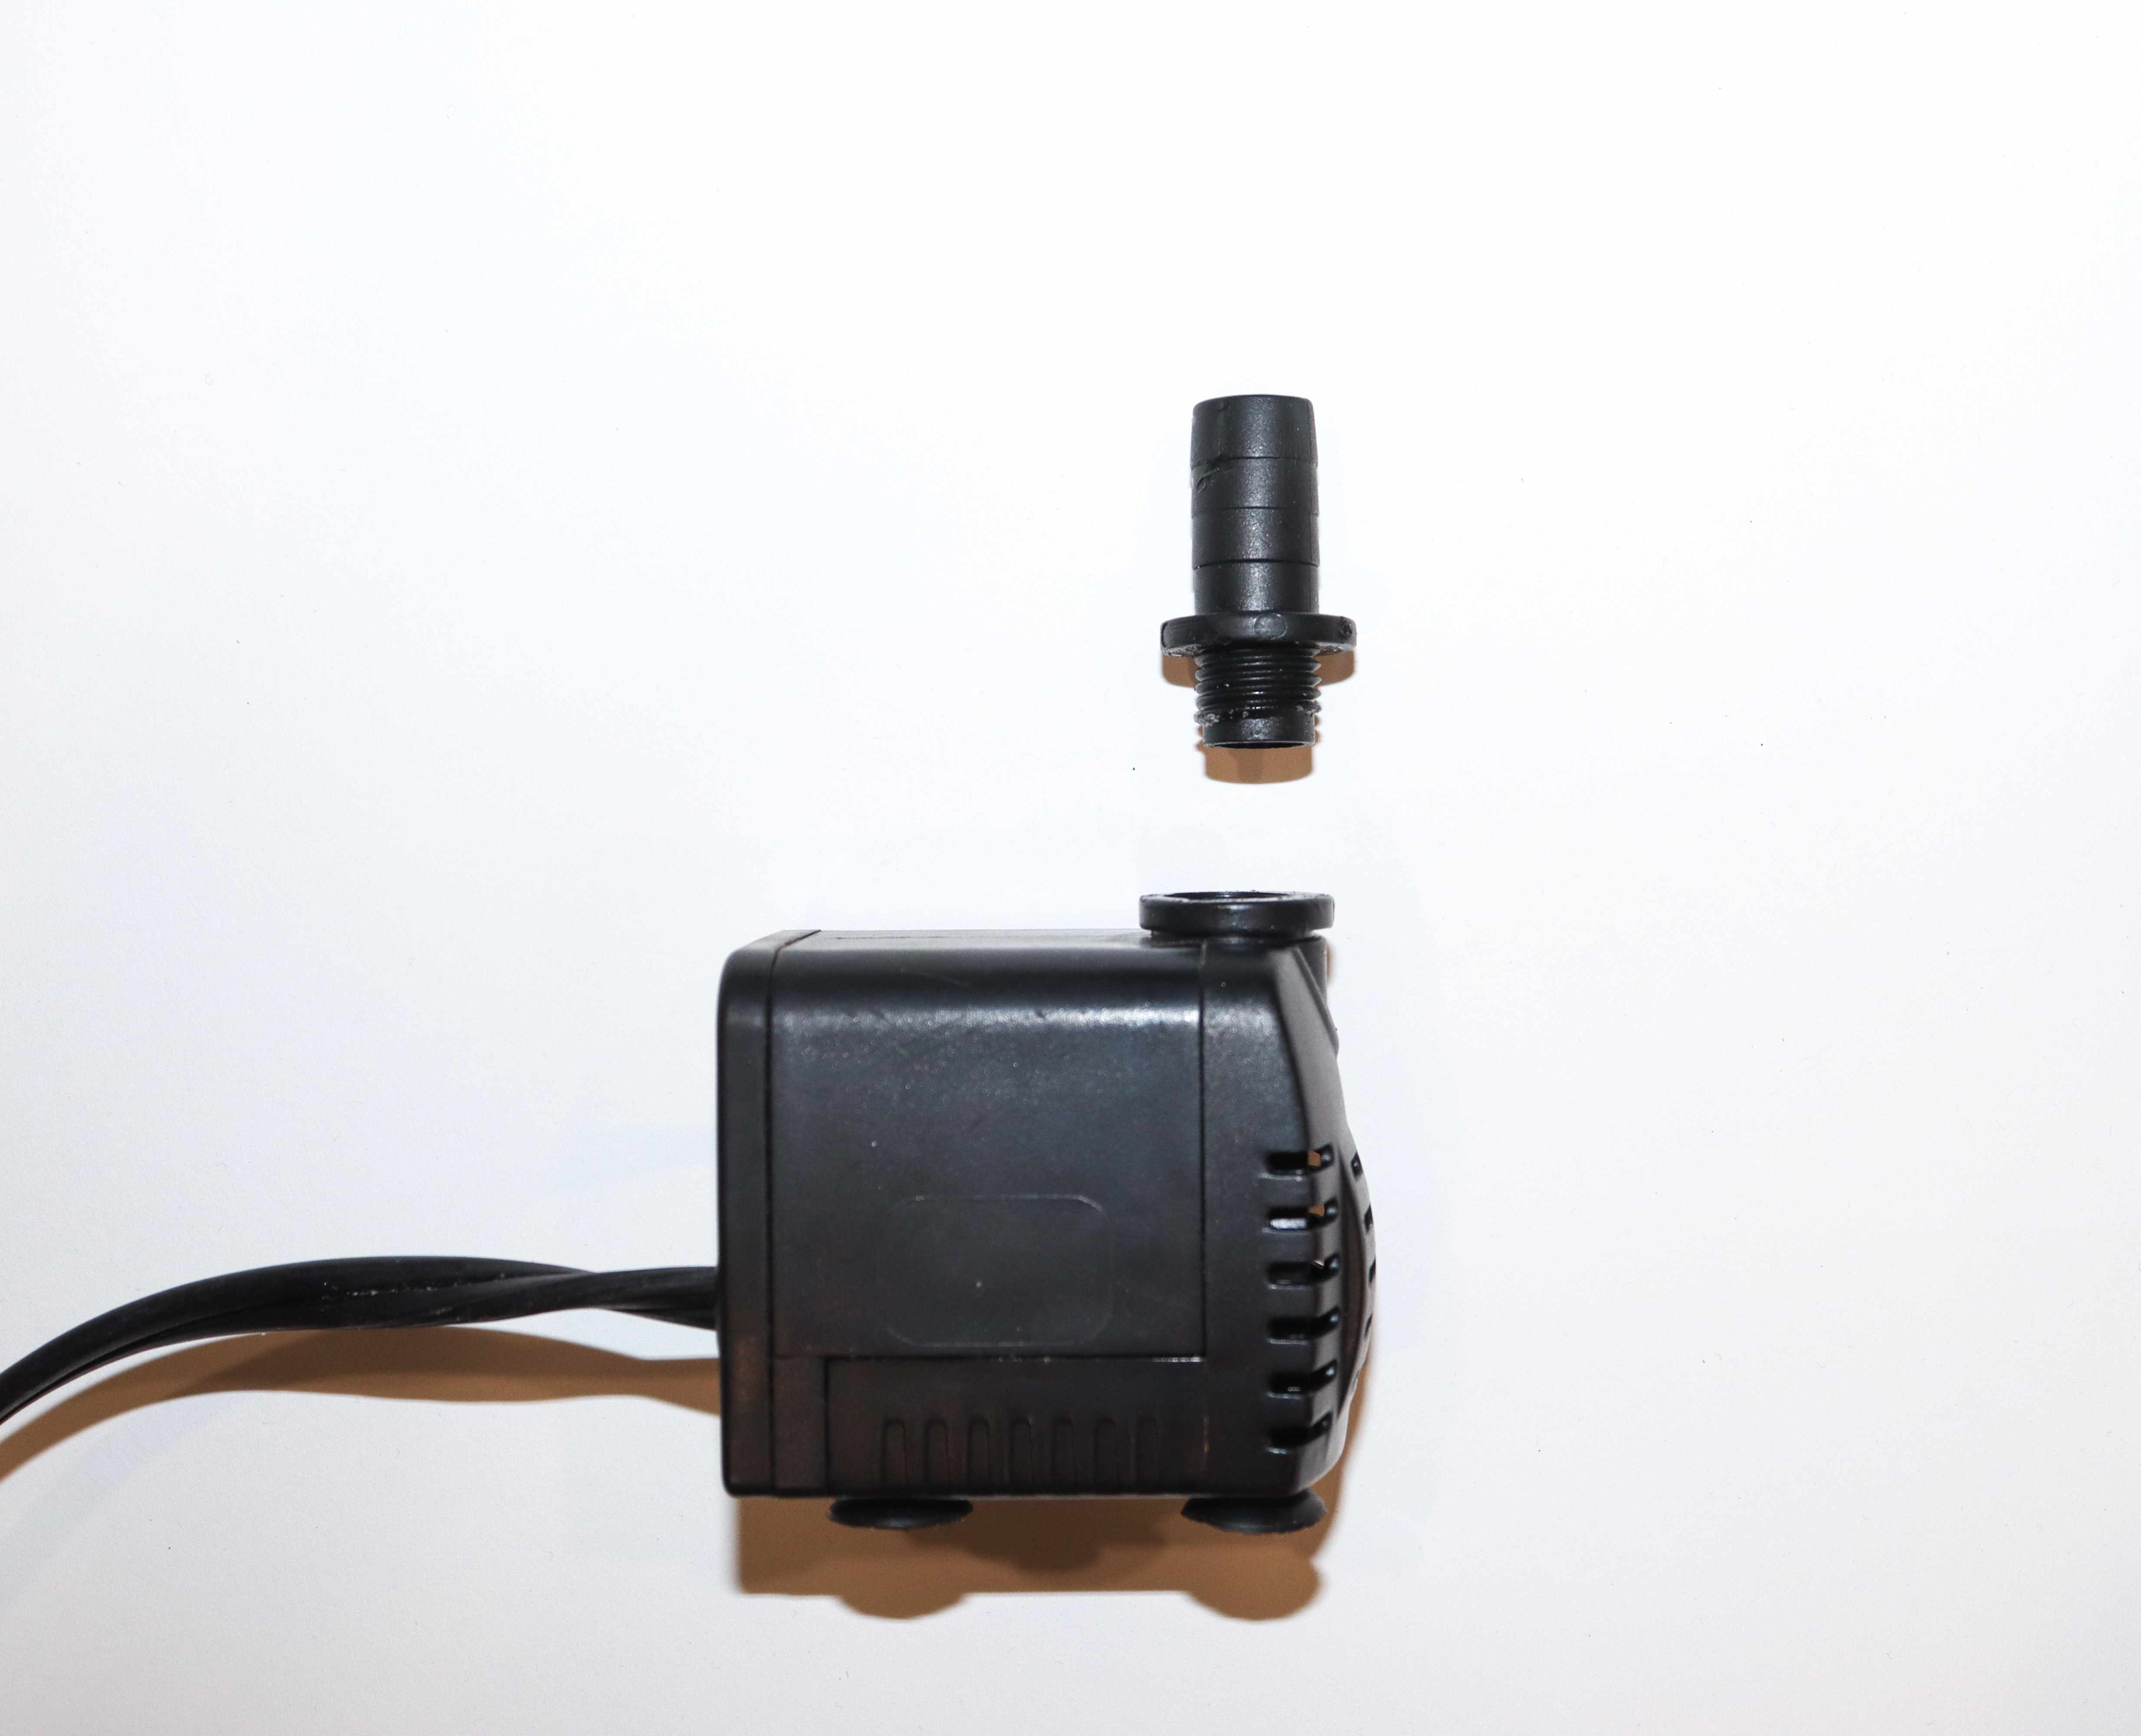
Step 4 : Installing The Pump
Remove the pump from the box
Screw in the water pipe into the top of pump
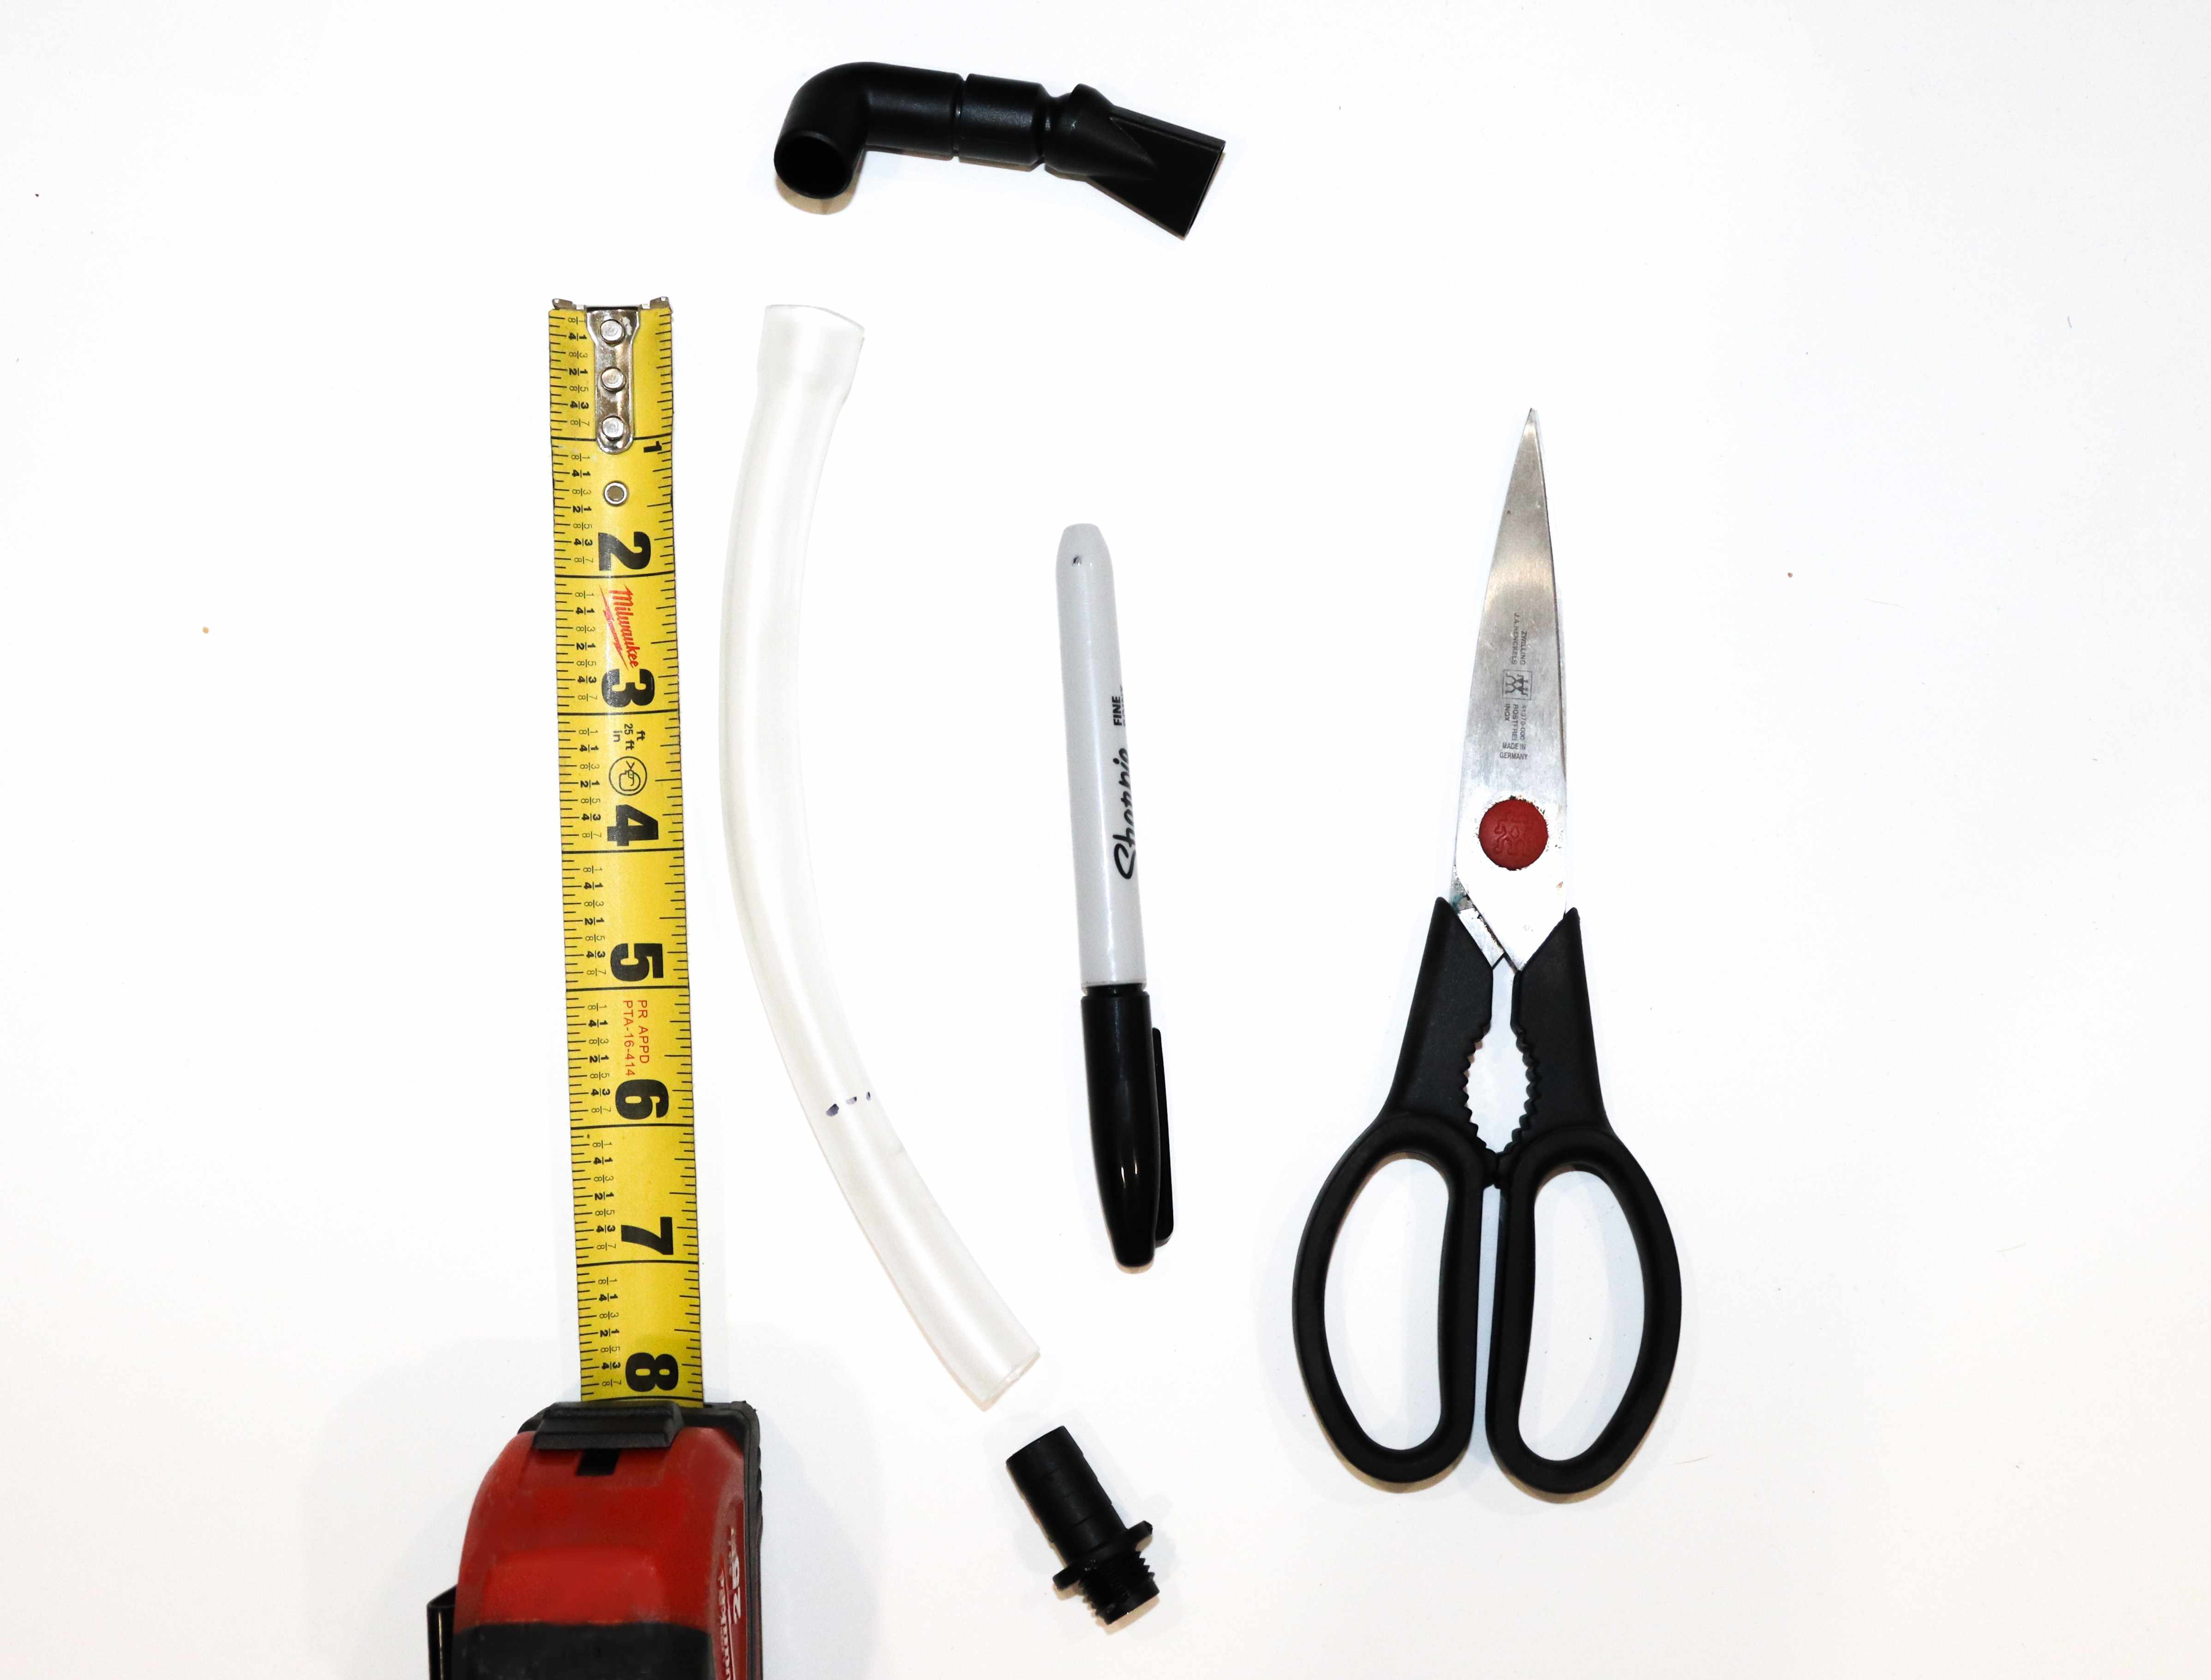
Cut the flexible return line hose to 6’’ for the Studio 12 model or 15.25cm
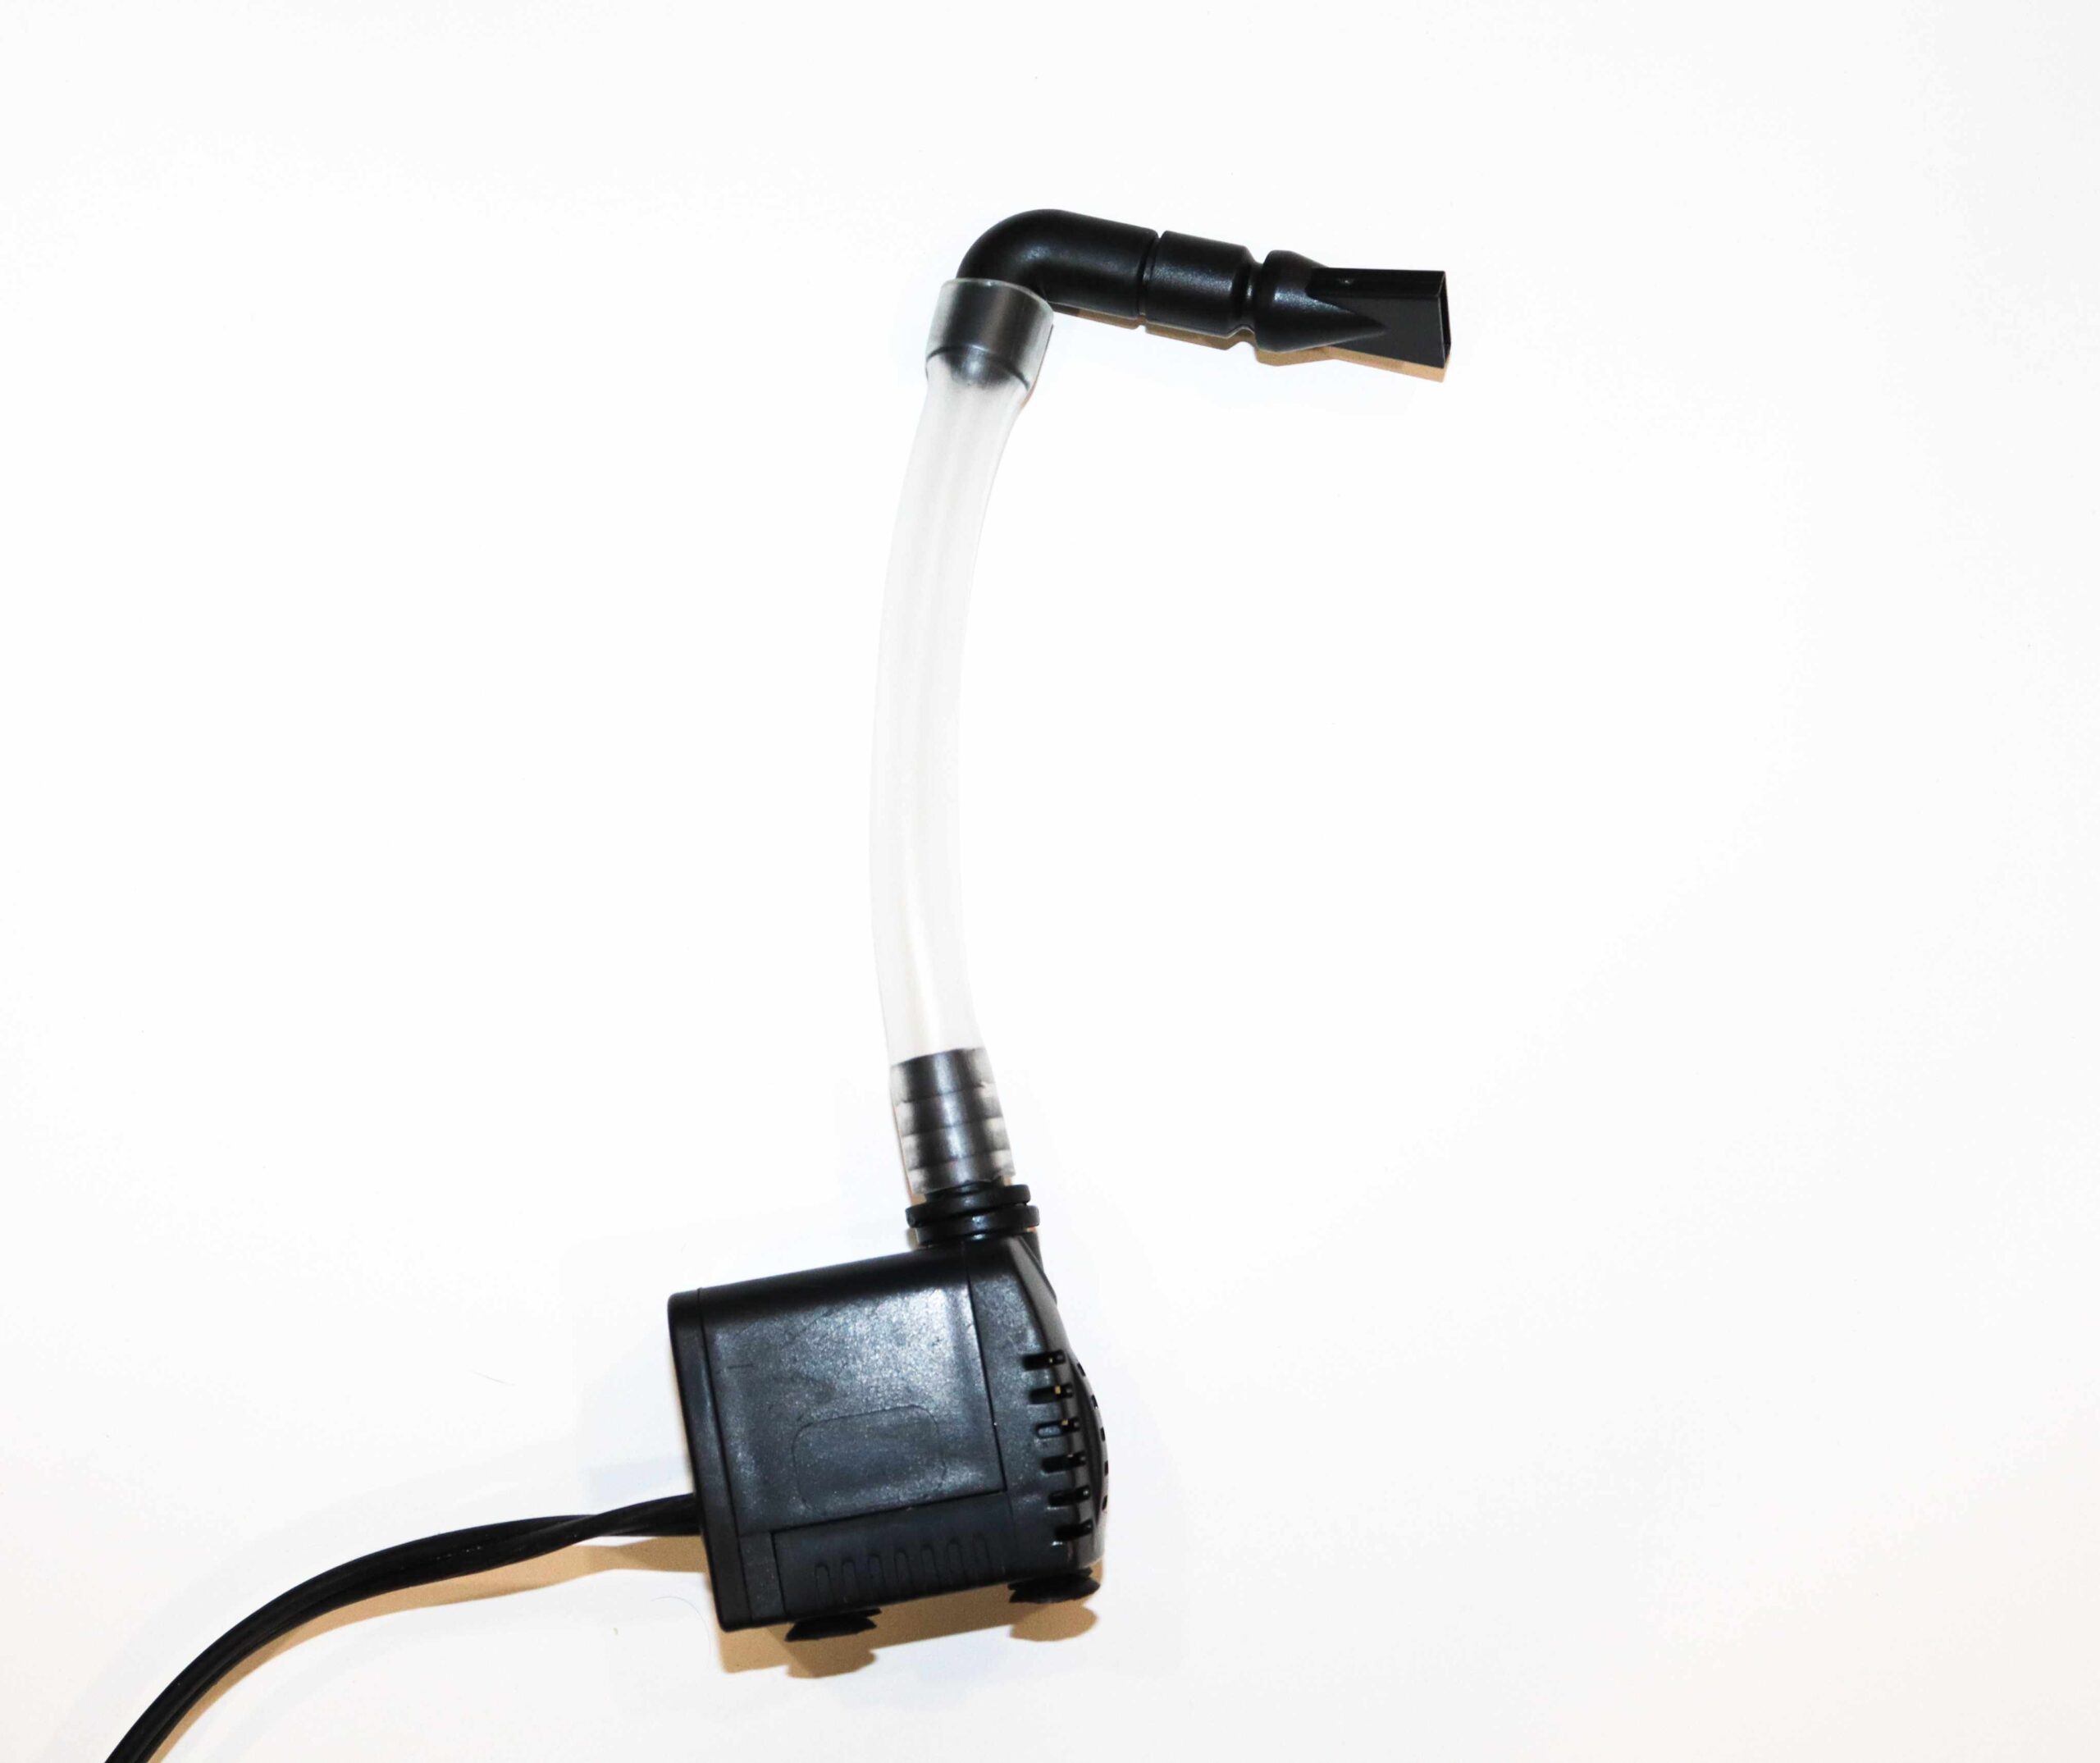
Push on end of the hose onto the pump and the other end on to the return nozzle
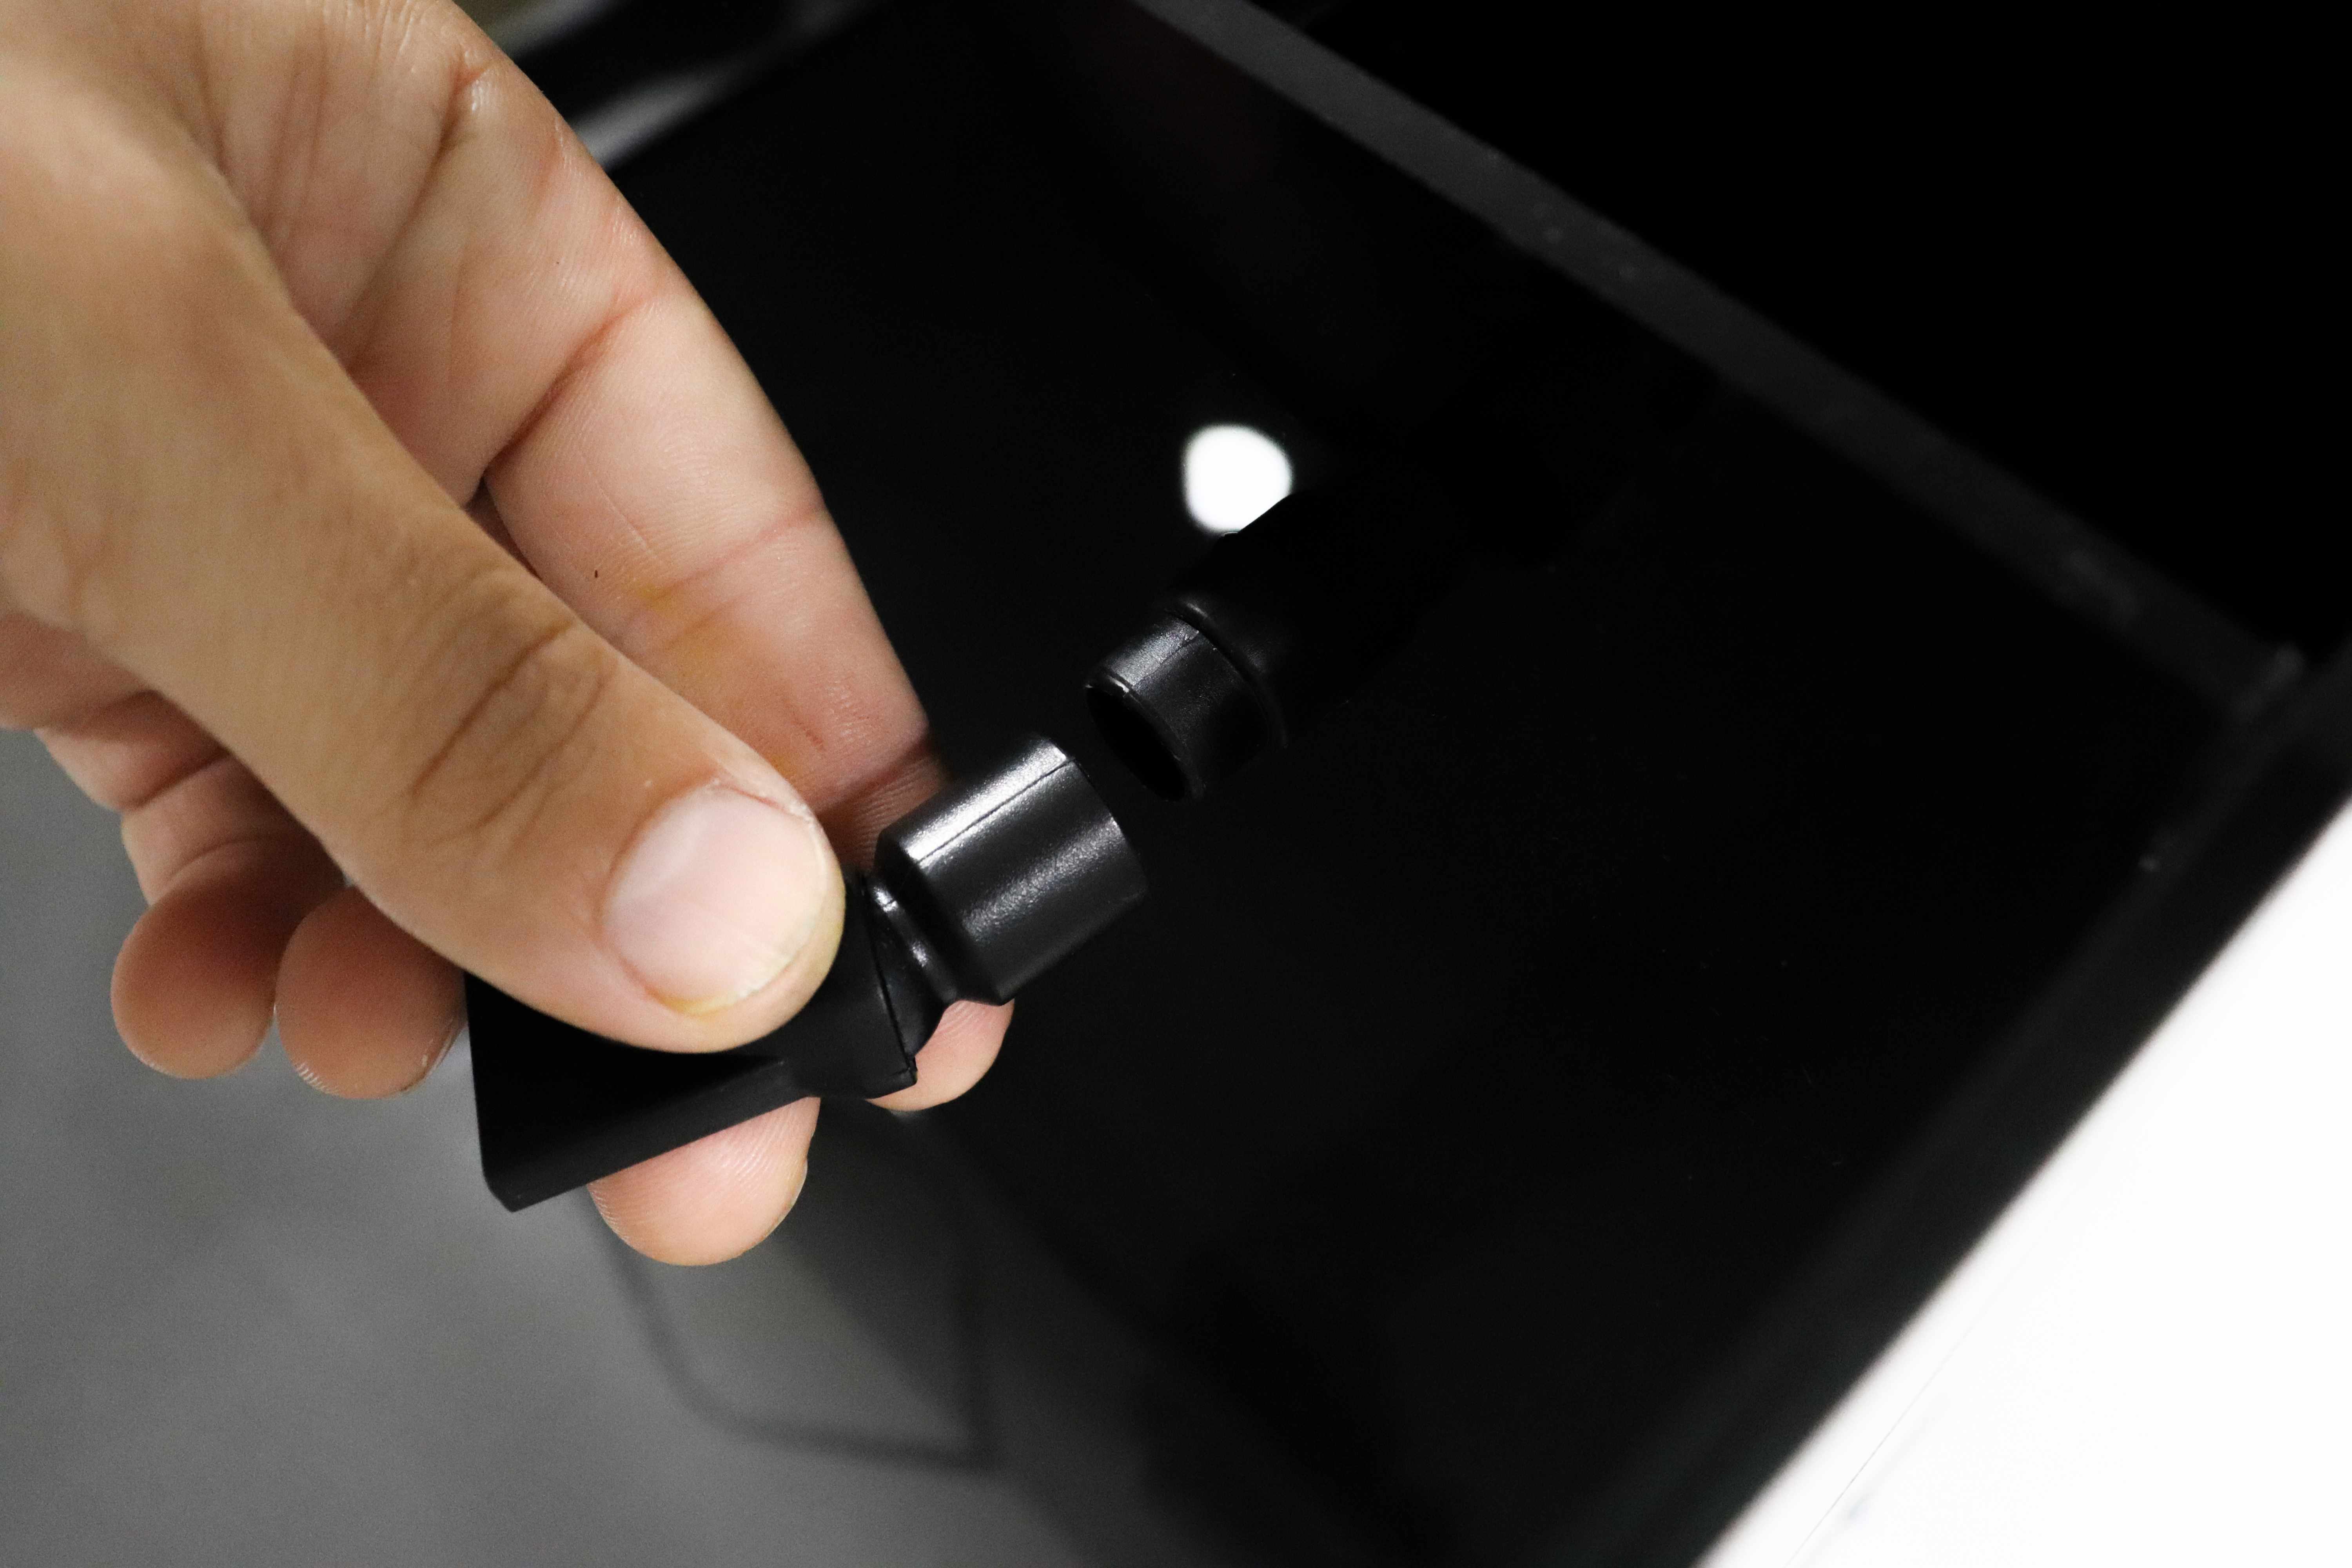
To install return nozzle push one end through the back filter into the 90 degree adapter
Do not plug pump until the tank is full of water

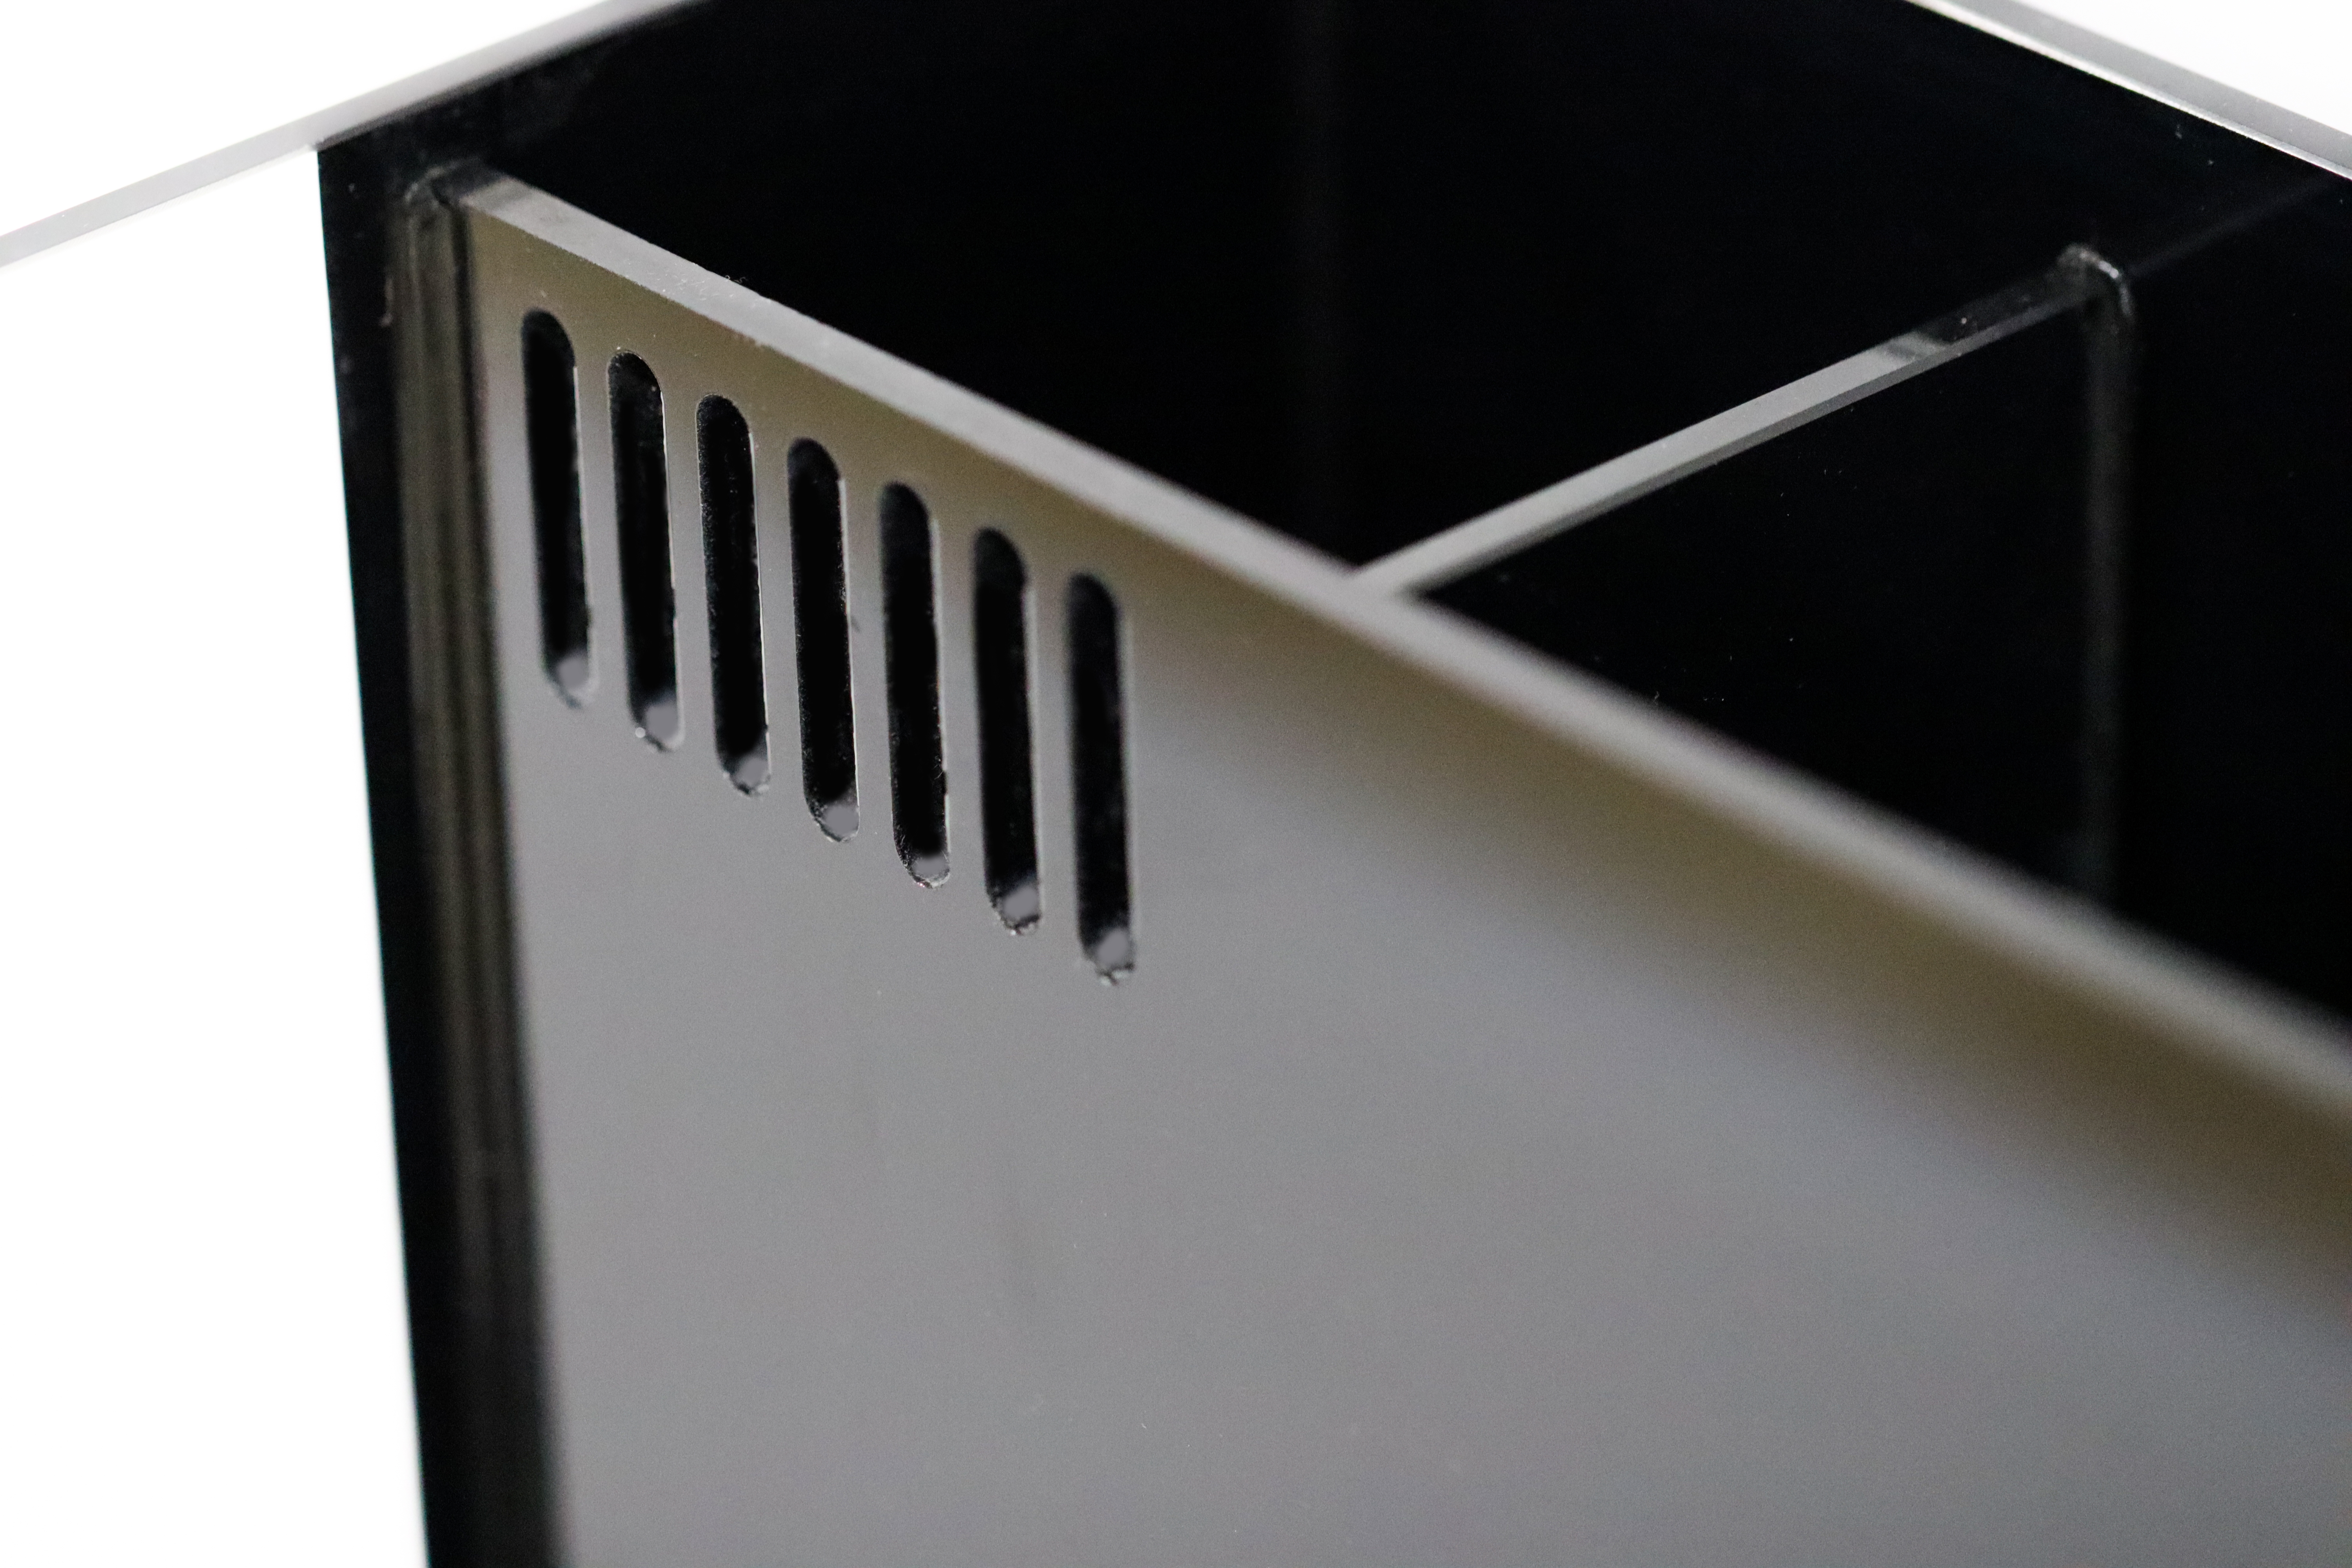
To install filter floss holder, simply place in the first chamber along the glass guides
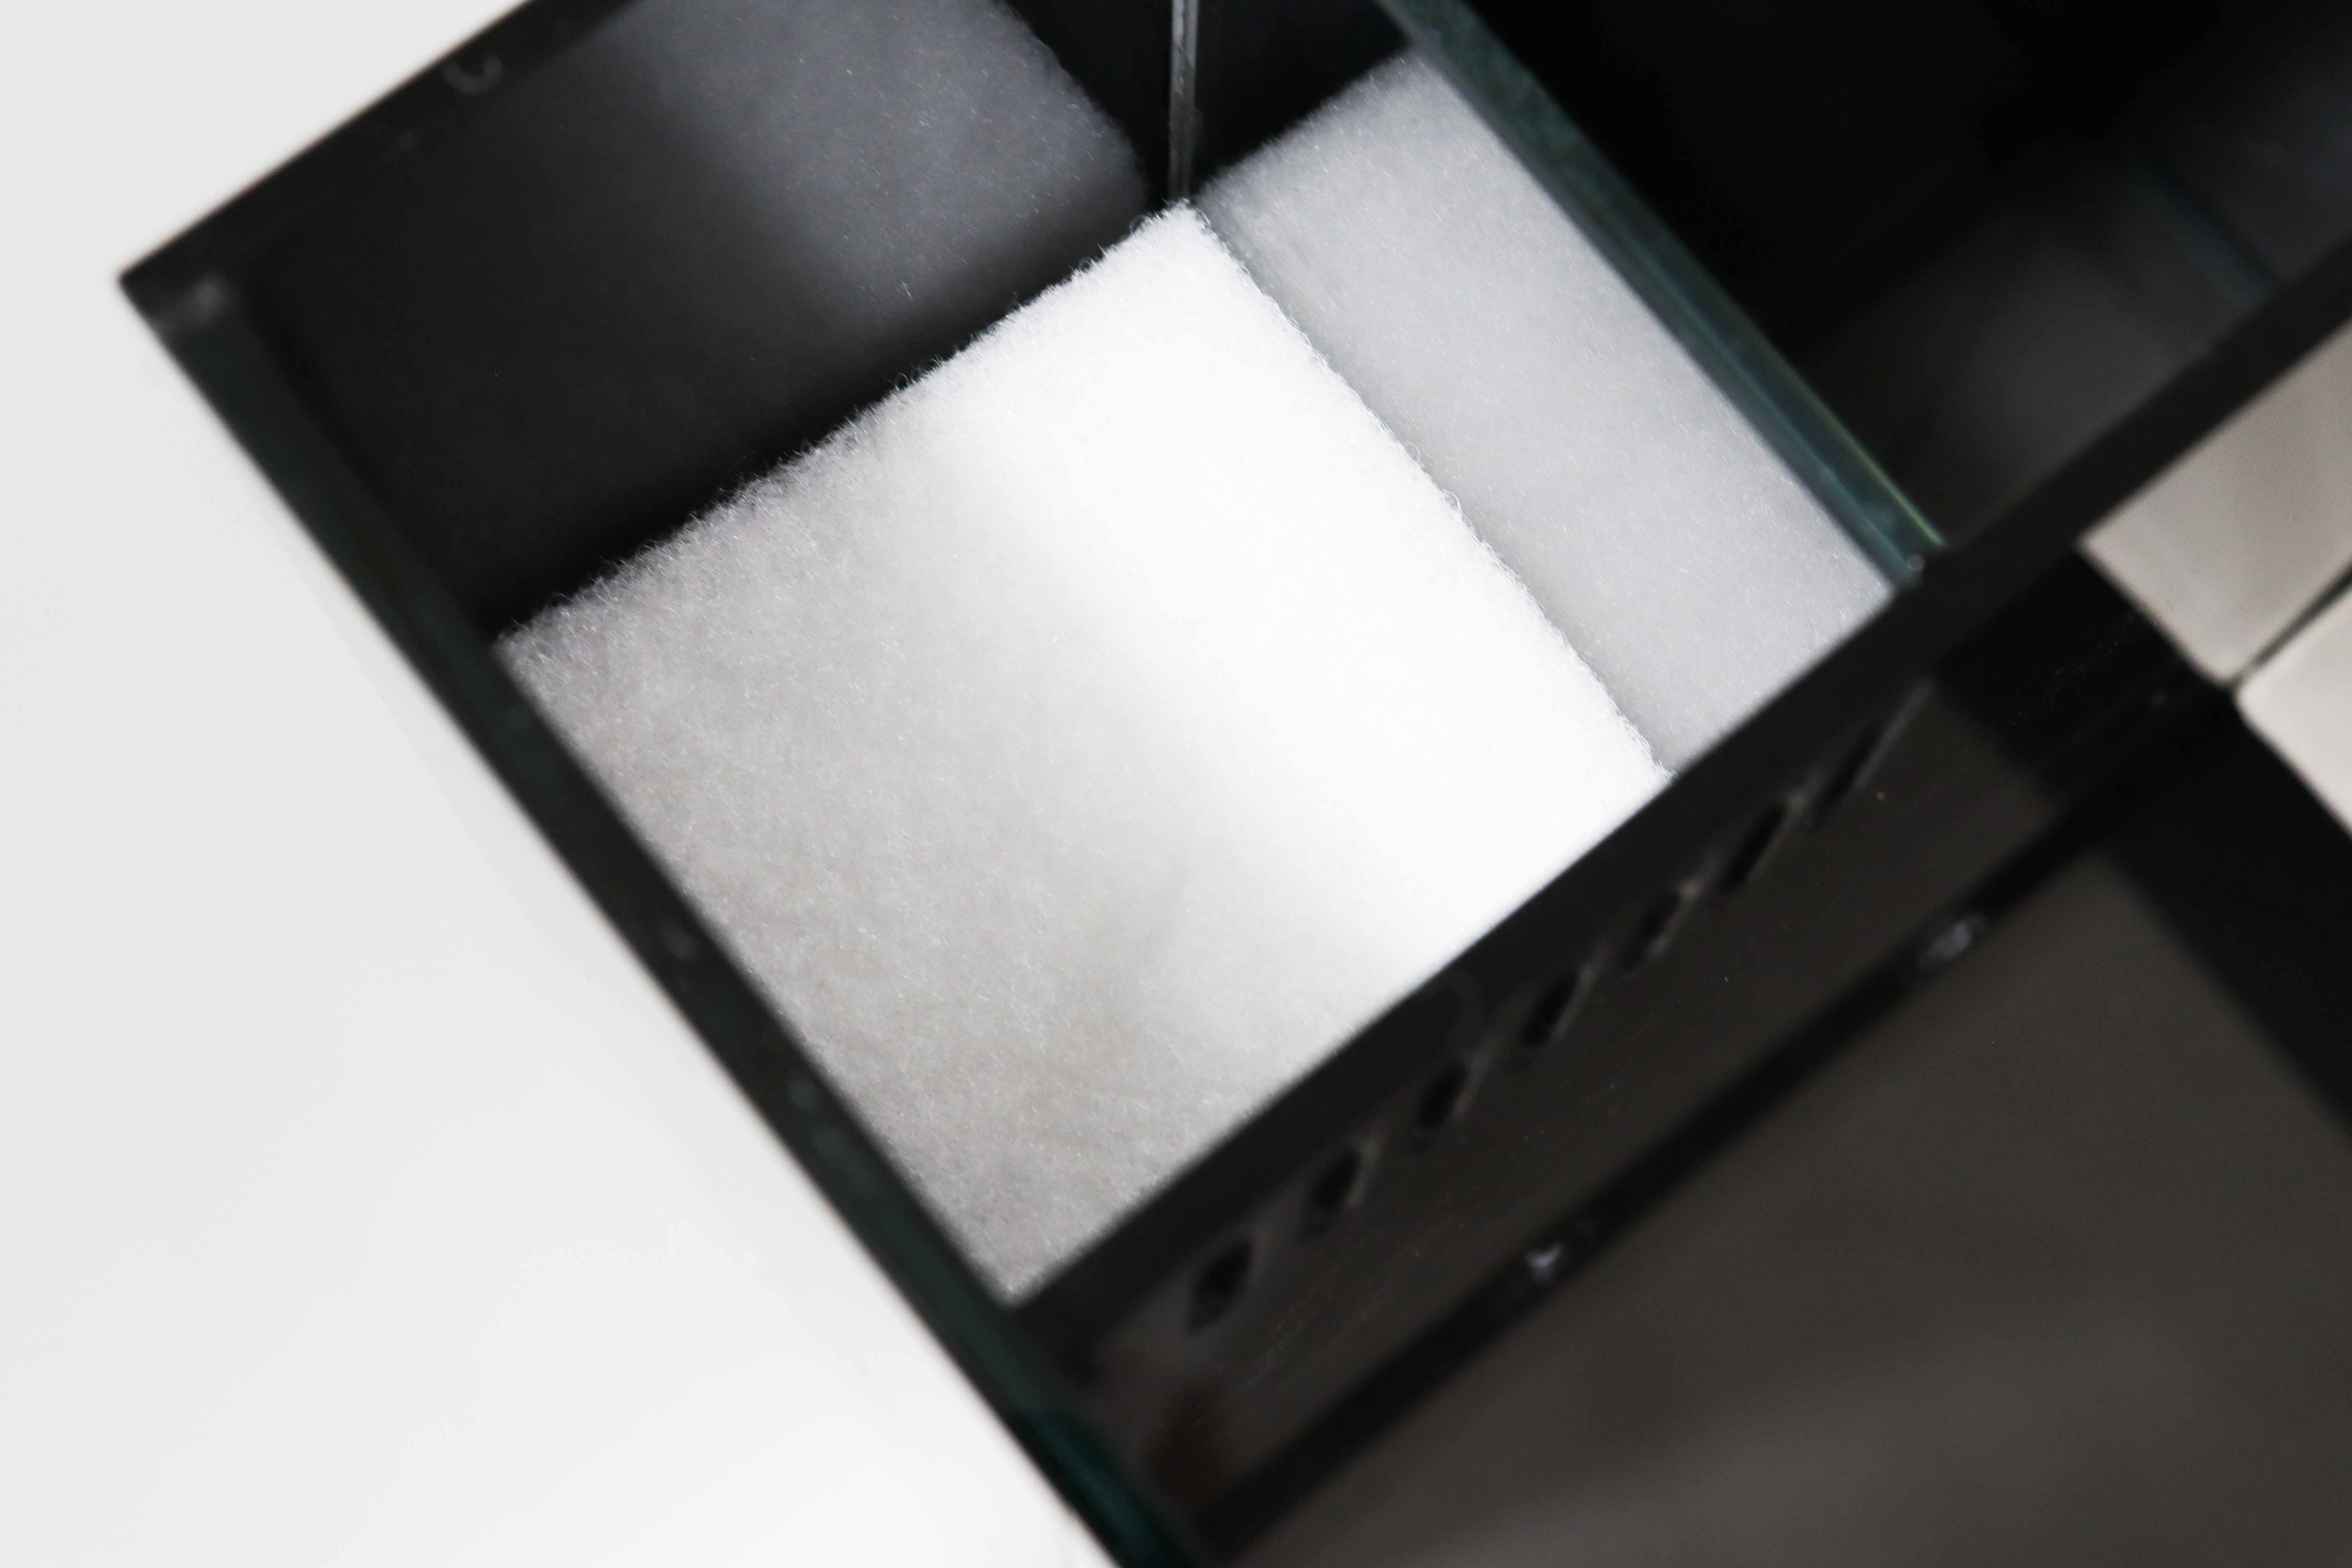
The provided filter floss and carbon sit on top of the custom water grate
Adding Water
Pour fresh or saltwater into the display section of the tank and watch the back section fill
Stop once the water level reaches the filter and is approximately 1’’ from the top
You can now plug in the pump
The water level in the filter will naturally drop as water is sent into the display section
