Fragging Zoas
Important Safety Note:
Some zoanthids and palythoas contain toxins that can be harmful. Its always good practice to treat them all with respect and care. Always wear gloves, a high quality mask and eye protection when working with or fragging these corals. Never use any tools or cutting boards that are used for food preparation and wash all equipment thoroughly when finished.
Some Zoa Basics
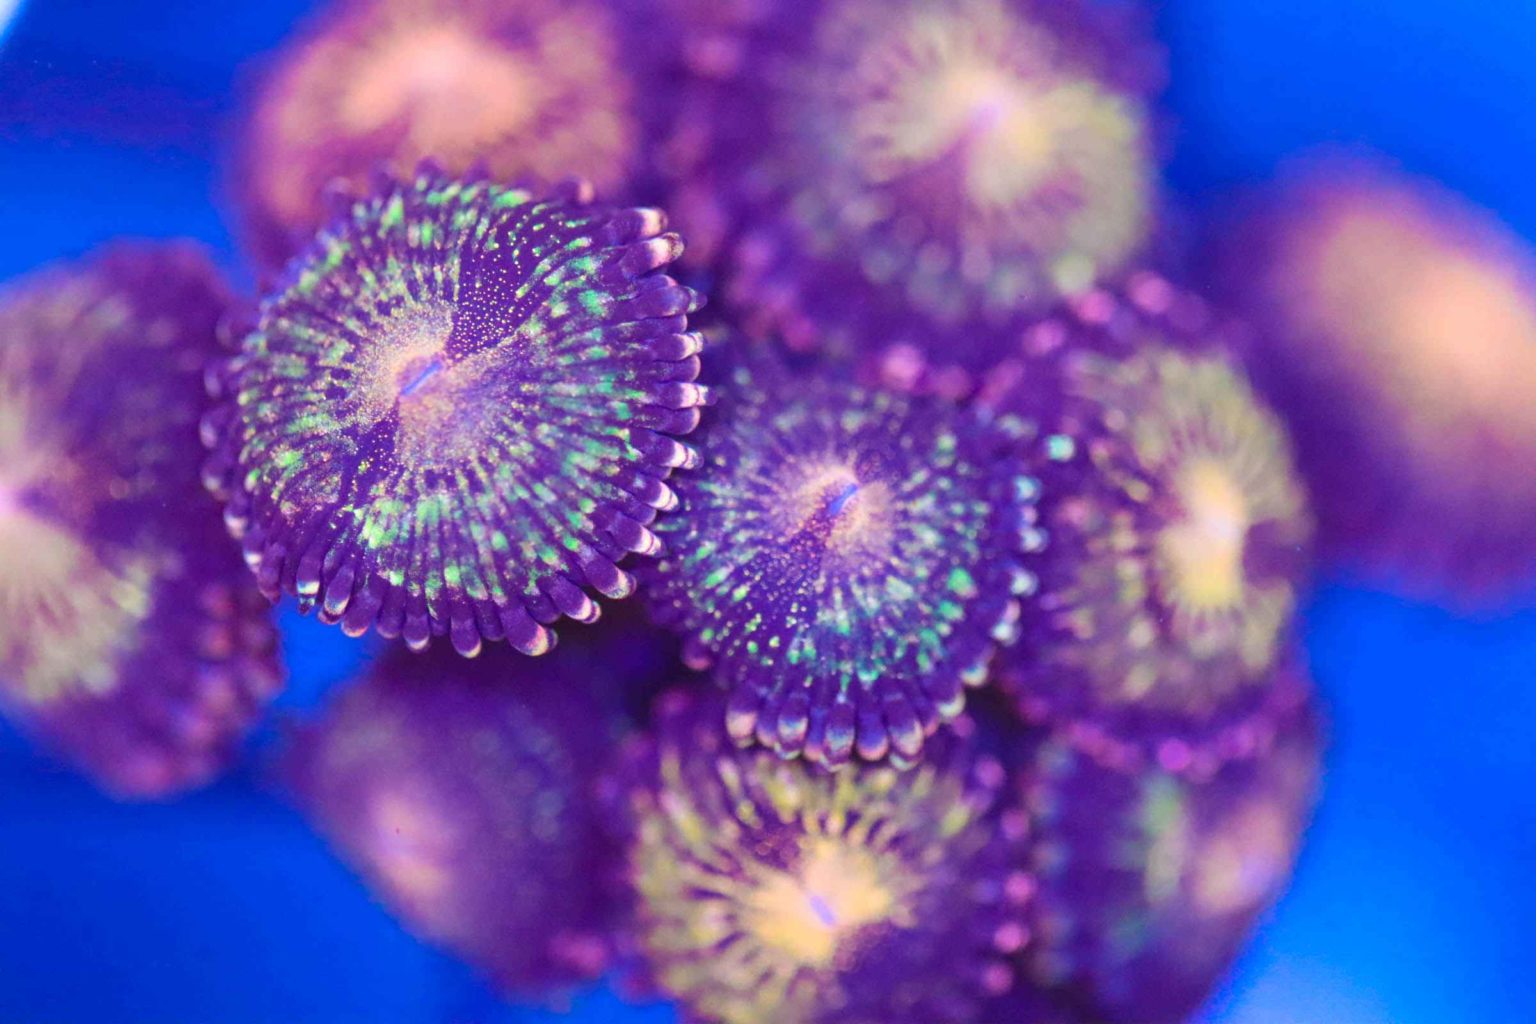
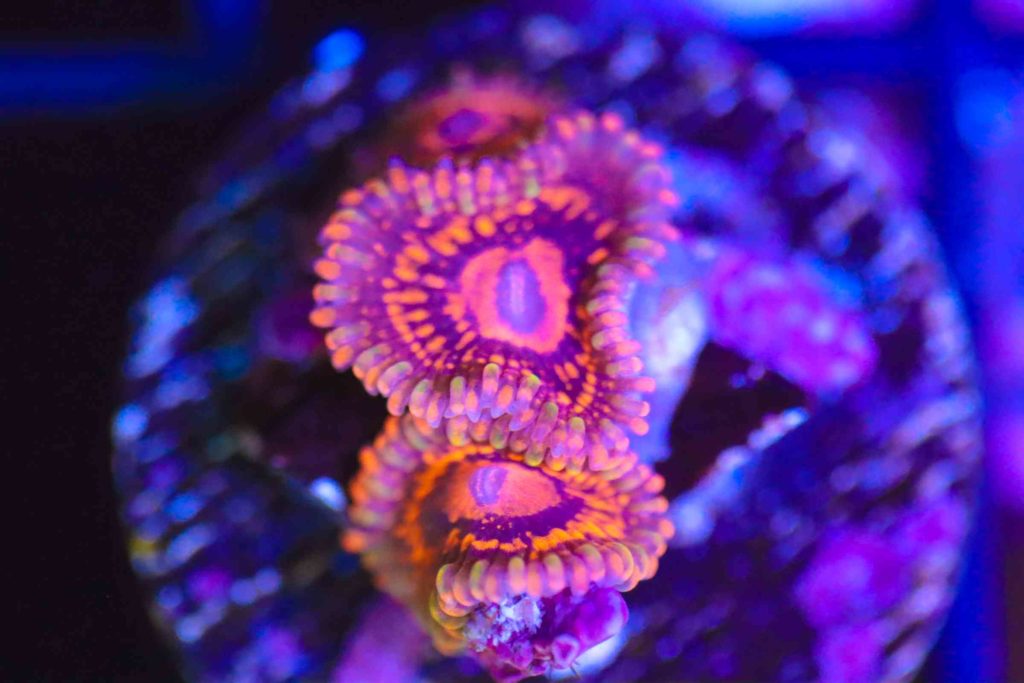
For many reefers zoas are like Pokemon, they have to collect them all! In recent years zoas have exploded in popularity, with new colour morphs constantly being discovered and added to the market. Zoa collecting has, in many ways, become a hobby in itself and many saltwater aquarists are always looking to add to their collection.
Zoas are a colonial soft coral that reproduce by budding. Each polyp is attached to the others by a tight mat of tissue that allows the polyps to share nutrients. Zoas are generally fairly fast growing in most water conditions and are ideal candidates for fragging. Hobbyists may choose to frag zoas for resale, to trade with other reefers, or just to have a small piece to move to a different area of their tank.
Basic Equipment/Setup
While fragging zoas does not require much in the way of specialized equipment, there are a few things that a hobbyist will need in order to frag this coral.
- A sharp scalpel or razor blade will be necessary to remove the polyps and connective tissue mat from the rock.
- A frag plug or rubble rock to attach the newly separated polyps to.
- Tweezers are very helpful for carefully placing the new frag on the plug.
- Most reefers will use coral glue to attach the polyps to the frag plug or rubble rock.
- A shallow dish with tank water to place the newly glued frag in. This will help to set the glue.
- A larger container with tank water to place the mother colony in after fragging before returning it to the display tank.
It is a good idea to set up the work area before removing any corals from the tank. Zoas can be left out of the water for a few minutes without any harm but the more prepared you are the quicker, and safer, you can work.

Fragging Technique
1) Set up your workstation. This includes gathering all the required tools and filling the containers with water. It is also important to remember to wear the appropriate protective equipment.
2) Prepare the frag plug or rubble rock by placing a teardrop sized amount of coral glue on it. Do not place the plug in the shallow water dish yet.
3) Use the scalpel or razor blade to carefully remove a mat of polyps from the mother colony. While some reefers may try to remove only a single polyp of very expensive zoas, larger frags will heal more quickly and are more likely to survive.
4) Use tweezers to carefully place the newly cut frag onto the glue. Make sure to glue the frag face up and avoid getting glue on the polyps. You will likely only have one chance to get this part right so take your time.
5) Carefully place the newly glued frag into the shallow dish of tank water. This will help the glue to set faster.
6) Place the mother colony in the larger container of water for 10-15 minutes before putting it back in the main display tank. This will allow coral to rest and also will prevent any toxins or slime it may release from being introduced to the display tank.
7) Once the glue has set completely, place the new zoa frag on either a frag rack or in a low light and flow area of the tank. The mother colony can also be returned to the display tank after 10-15 minutes. It is a good idea to place activated carbon in the sump or rear chamber of the display tank to absorb any toxins that may continue to be released.
Healing
Zoas generally respond well to fragging but there are a few things that you can do to increase the odds of success.
- Reduce lighting if possible. Even in a tank with other corals a day or two of reduced lighting will not cause any harm.
- Monitor the new frags for signs of stress. The polyps should open within a few days. If they don’t, try moving the frag to an area of lower flow.
- Monitor the glue for signs that the frag is not fully attached. Use more glue if necessary.
- Do not feed the new frags for at least the first week to allow them to heal.
Conclusion
Provided you have the right equipment, take your time and use proper personal protective equipment, propagating zoas is fairly straightforward and is a great way to share your collection with other reefers and hopefully they will share theirs with you!