Saltwater Aquarium Kit Set Up Guide
Follow these steps here for the all in one aquarium set up
Once the aquarium is set up, filter and pump installed you can use this guide to complete the saltwater kit
Estimated set up time: 30 minutes
Difficulty: 1/10
Fun Generated: 10/10
Experience Needed: zero
Support: Contact us 24/7 here
Follow the video above and more detailed instruction can be found below
Step 1 Adding The Sand
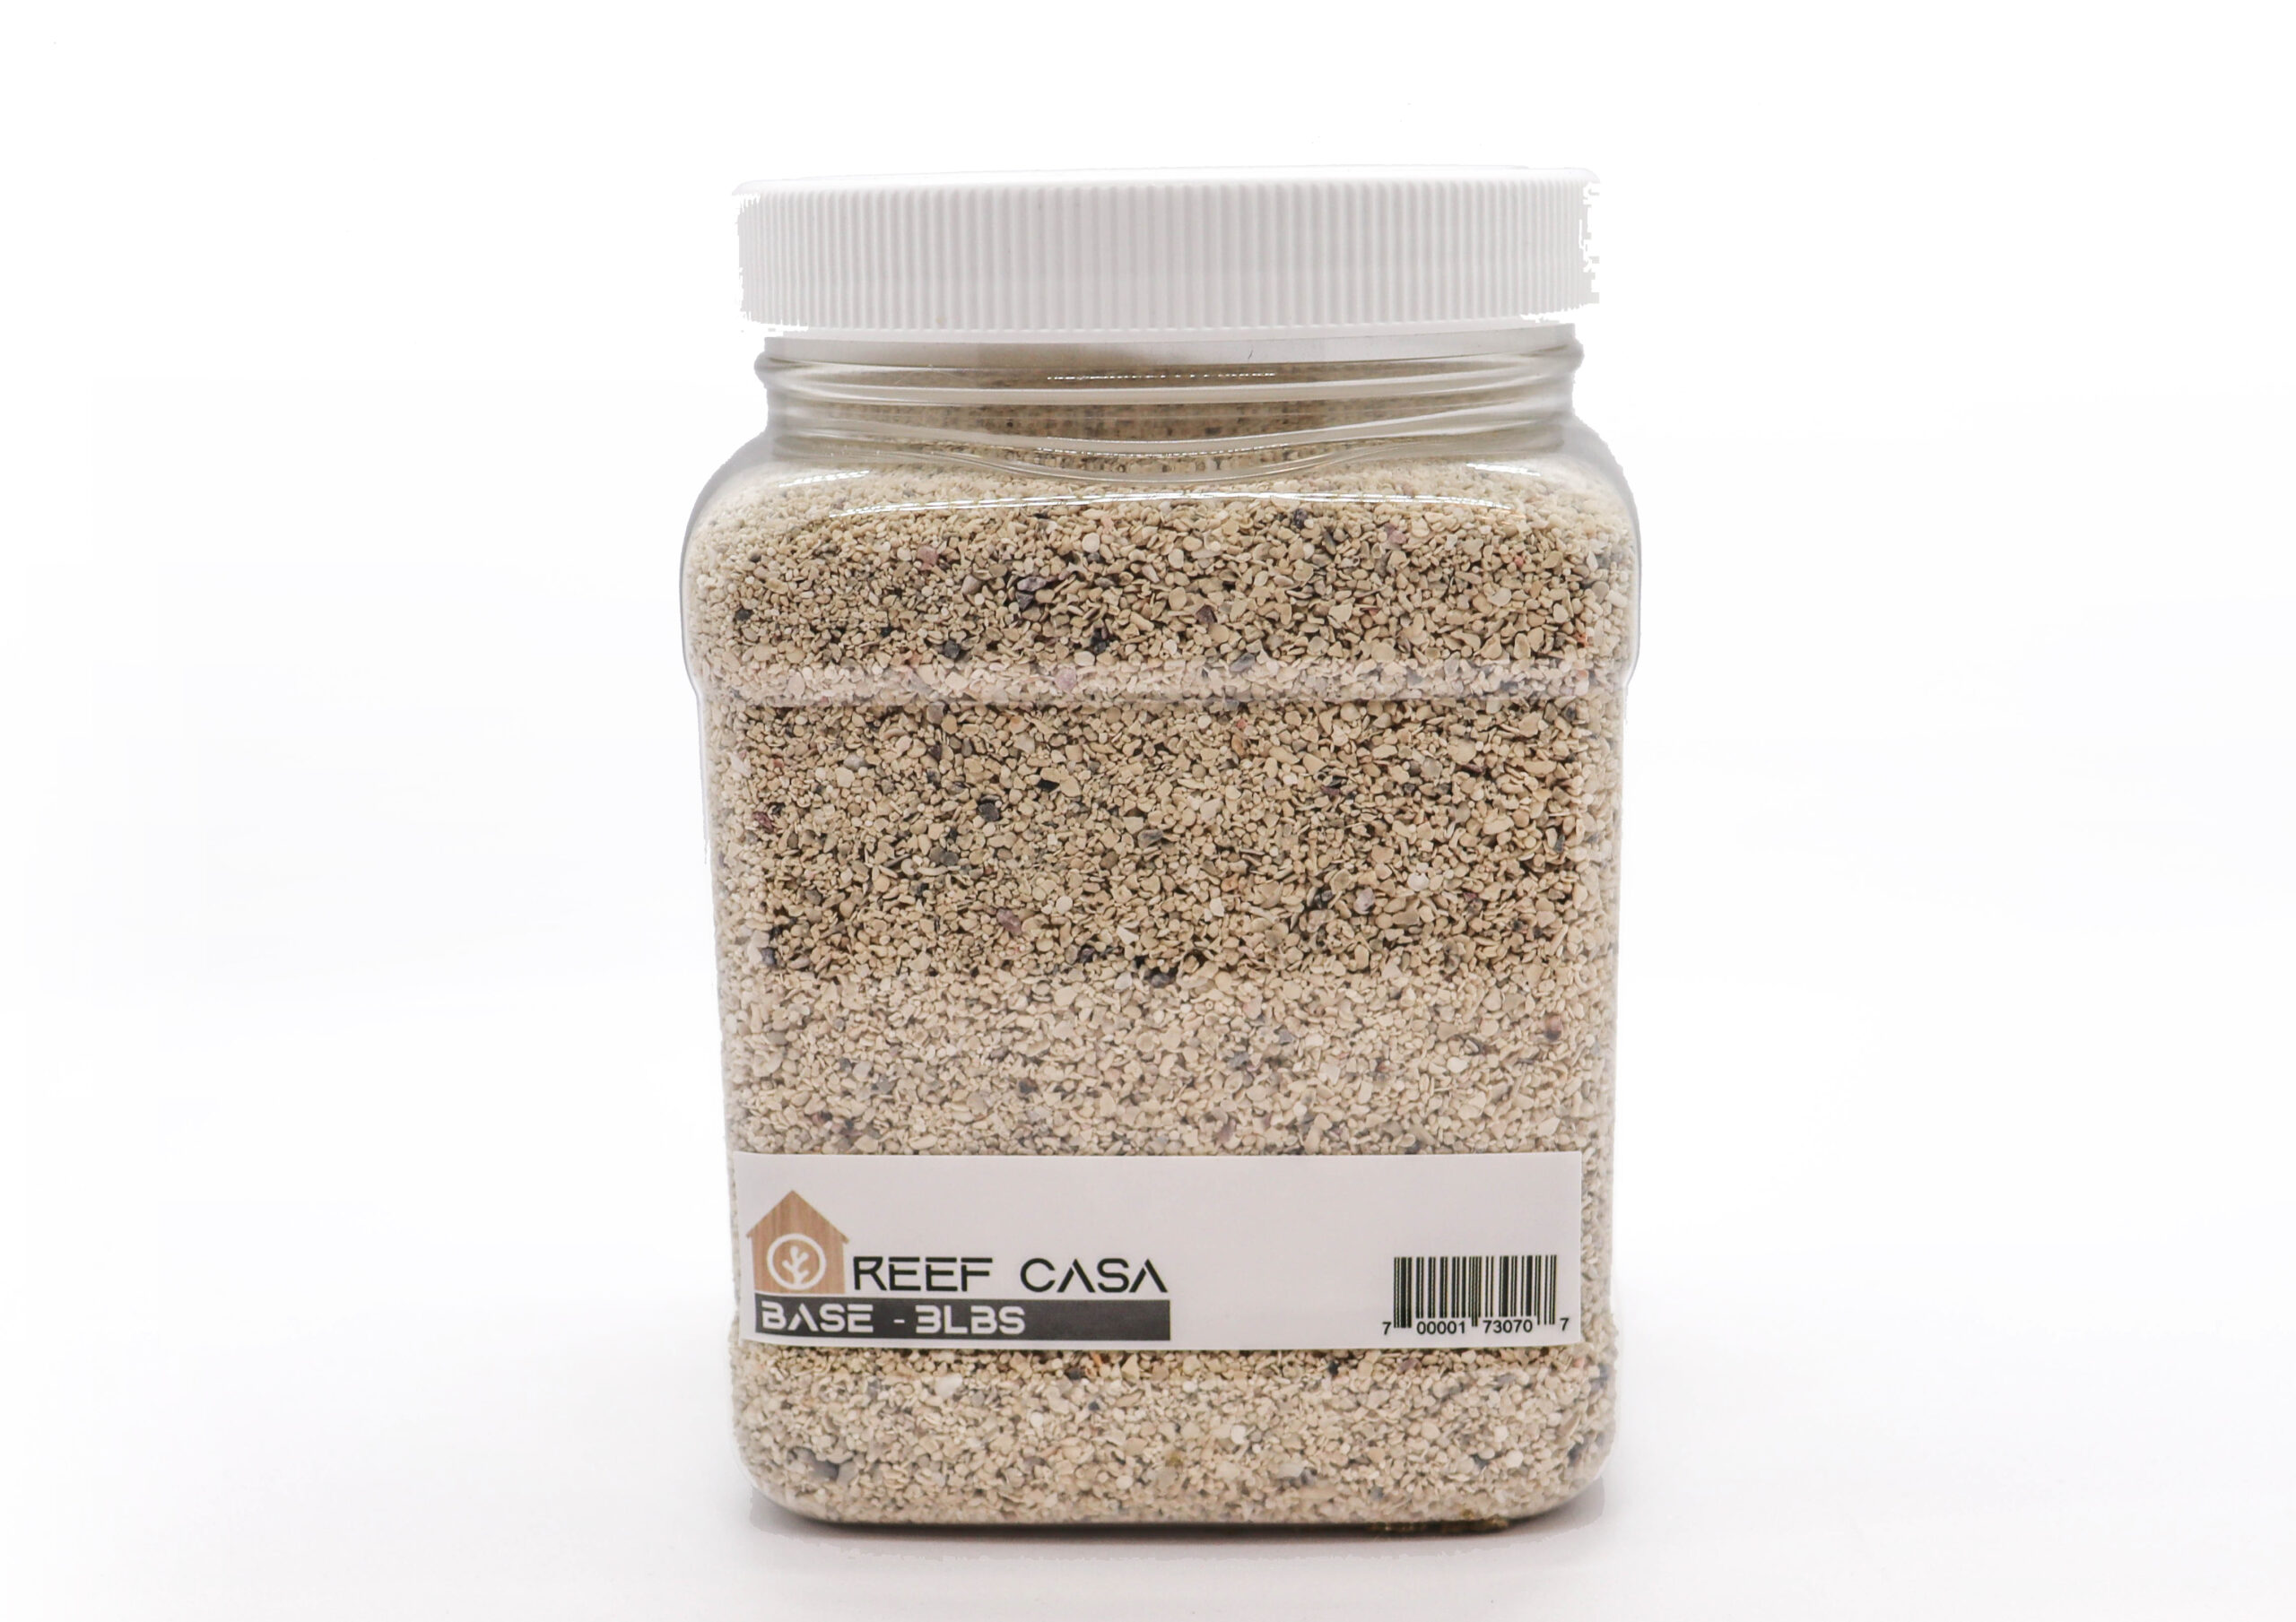
The sand for your aquarium has been conveniently pre weighed and size to get the perfect 1” coverage of sand bed. For the flat 6 simply add 3 lbs, for the studio 12 aquarium add 6lbs.
Pour the sand from the container into the tank, its that easy
Step 2 Adding The Rock
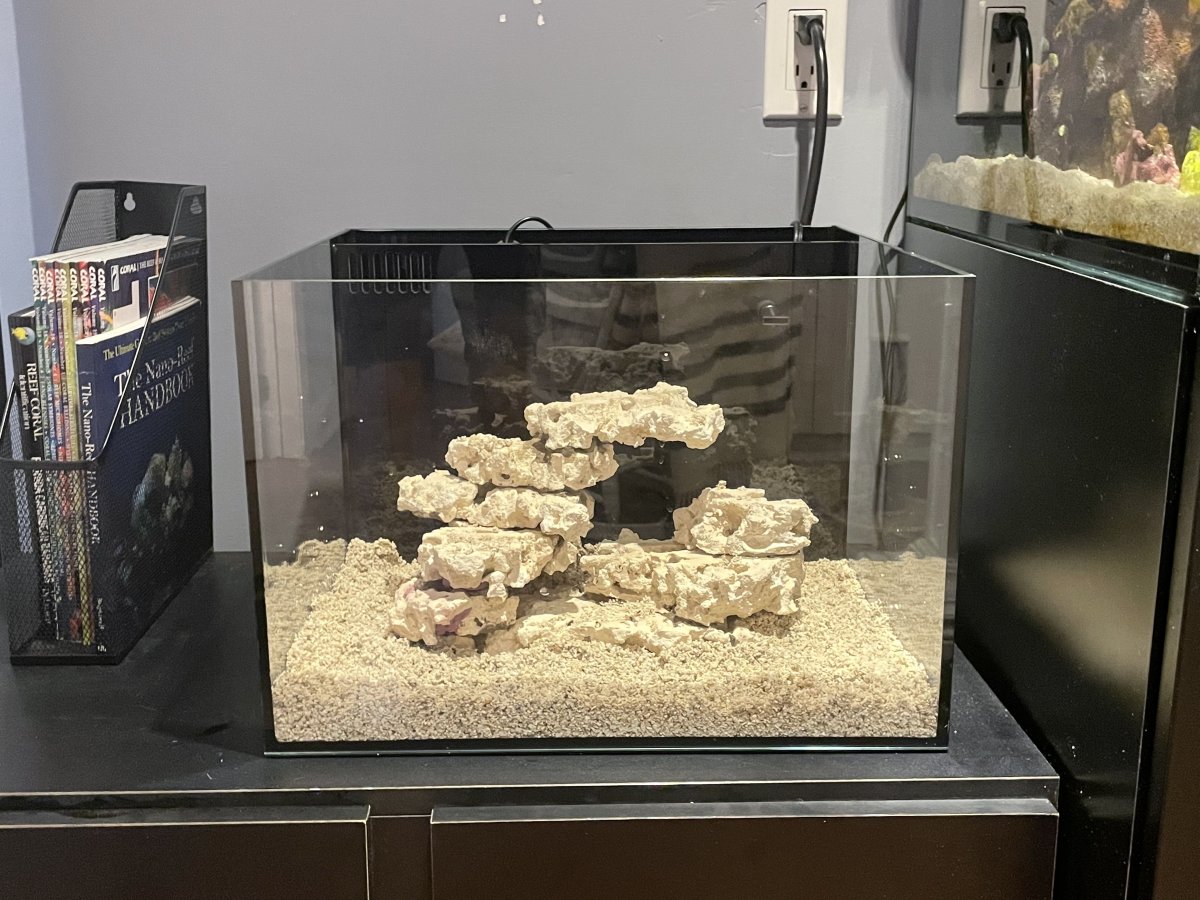
Like the sand, the rock has already been pre weighed for you so it is the perfect amount. In this step get creative, there is no right or wrong. Build a structure or position the rocks in way that is visually appealing to you
Step 3 Installing The Light 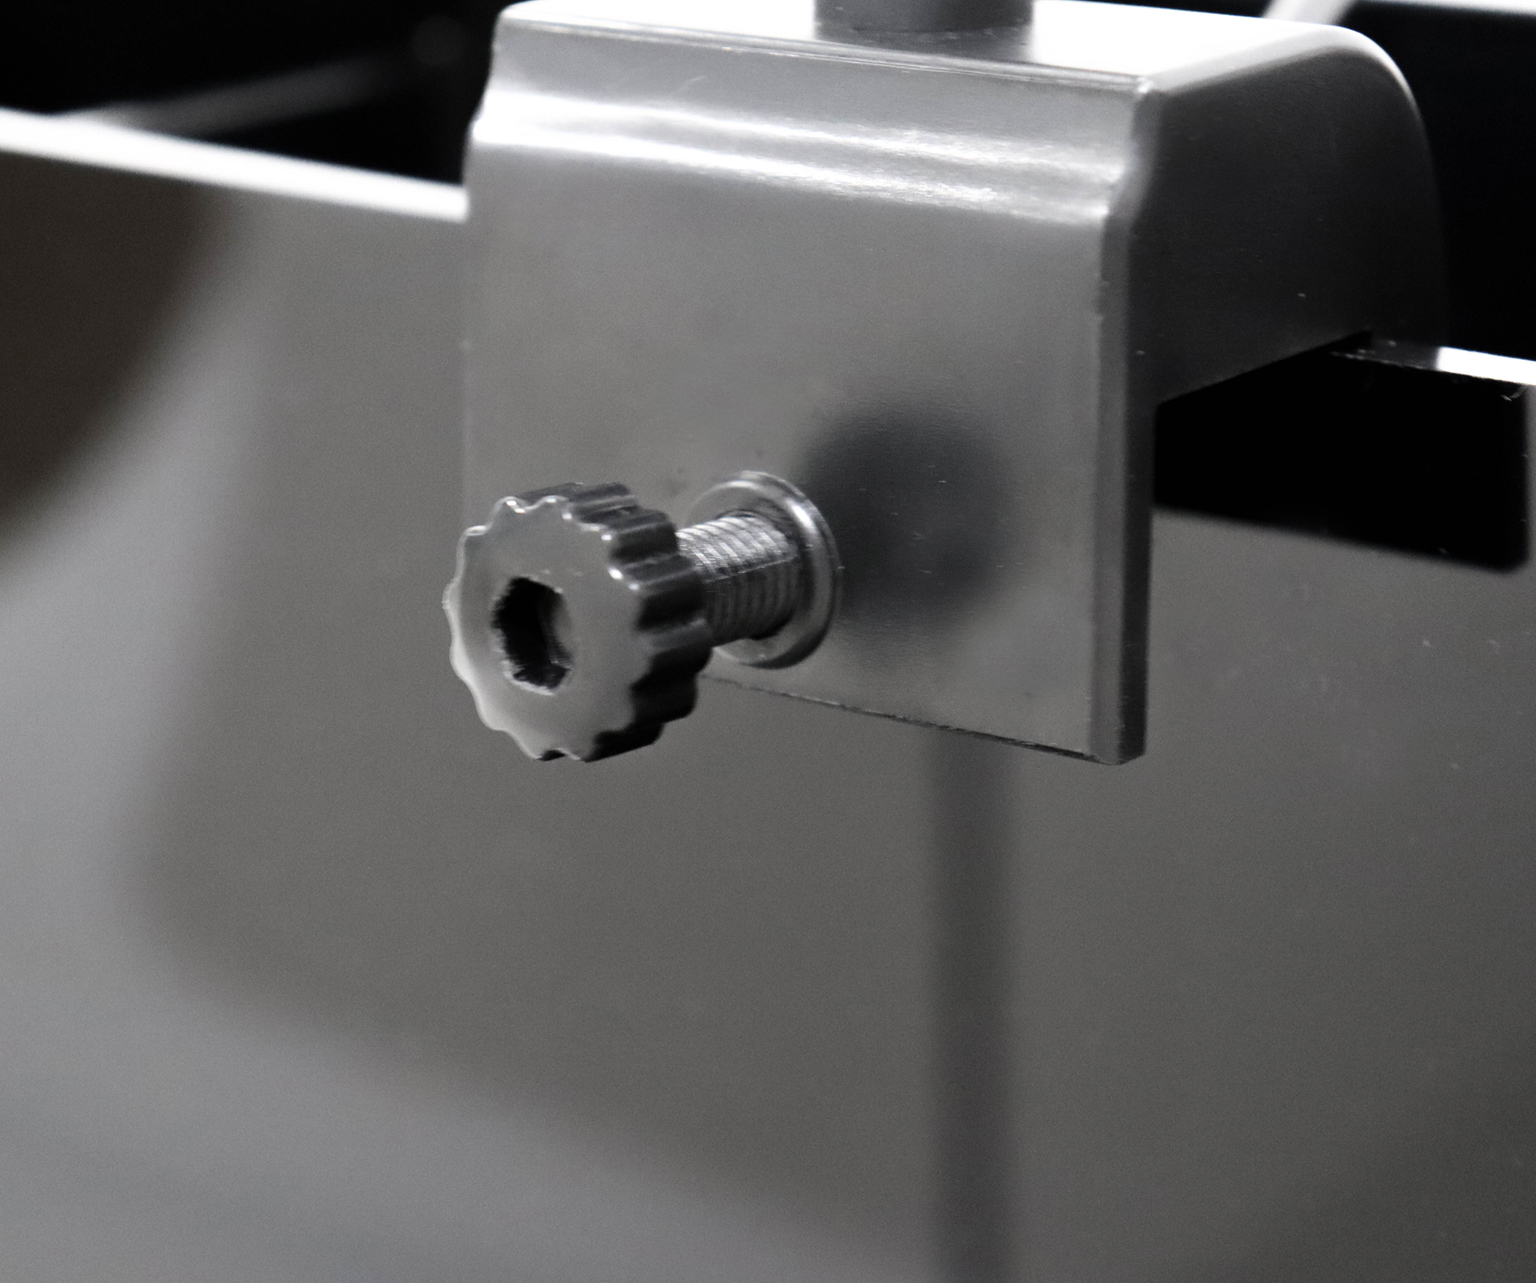
In this step install the light you have chosen. If it was bought through reef casa it comes with a tank mount, simply secure it against the back pane of glass and hang over the tank. If it does not have a built in timer we recommend running it 8 hours a day. If it is the Reef Casa Halo you can find the programming manual here.
Step 4 Biological Media

Step 5 Thermometer
Your Reef Casa aquarium comes with biological media to help improve the abundance of denitrifying bacteria. Simply place the included blocks in the second chamber.
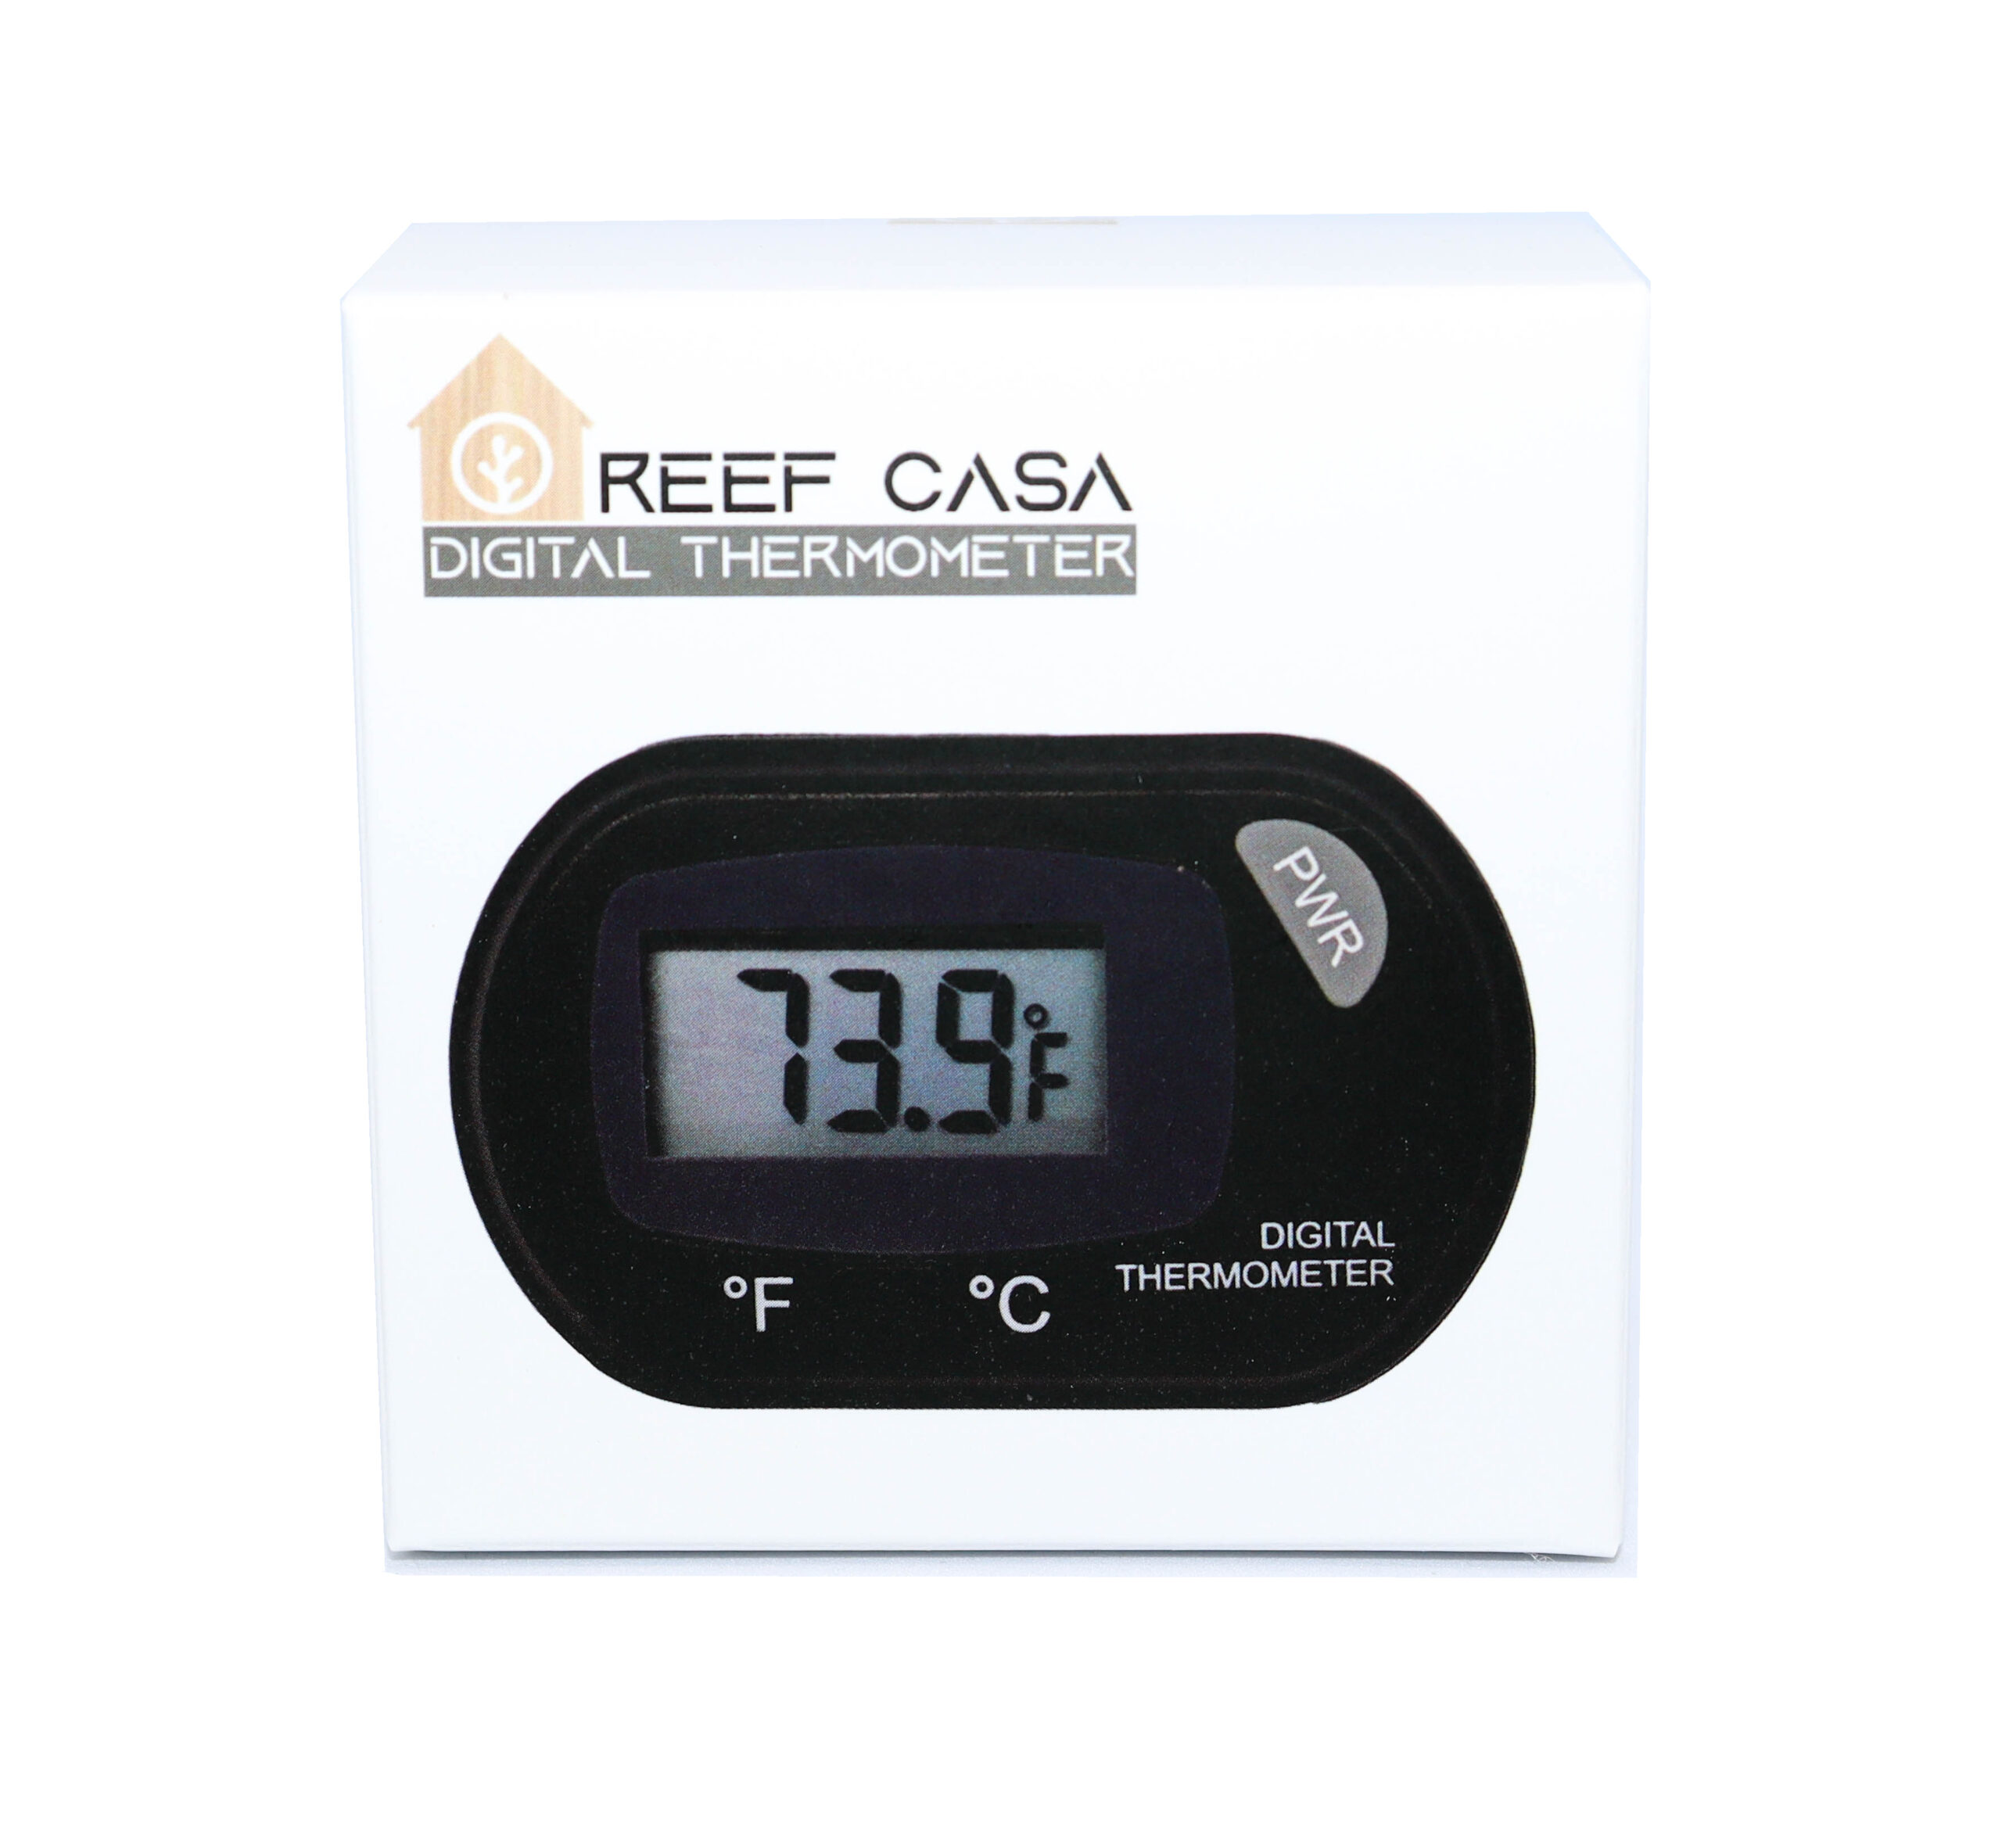
Mount the thermometer in a visible spot and place the included temperature sensor probe inside the aquarium or back filter
Step 7 Break ! (if you like) or continue because your almost done
Step 8 Adding Water
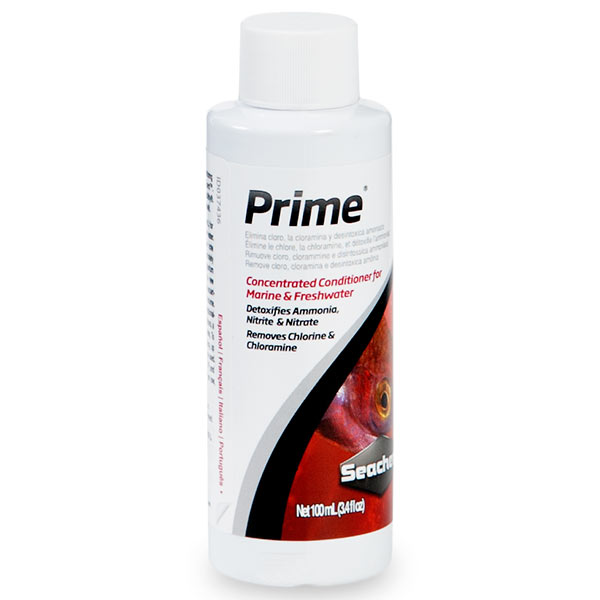
If you have decided to use tap water, follow the instructions of the bottle of prime. You can add tap water straight into the aquarium this first time because there is nothing living in the tank at this moment.
Step 9 Adding Salt & Measuring It
* Photo coming soon *
Step 11 Turn on the included pump
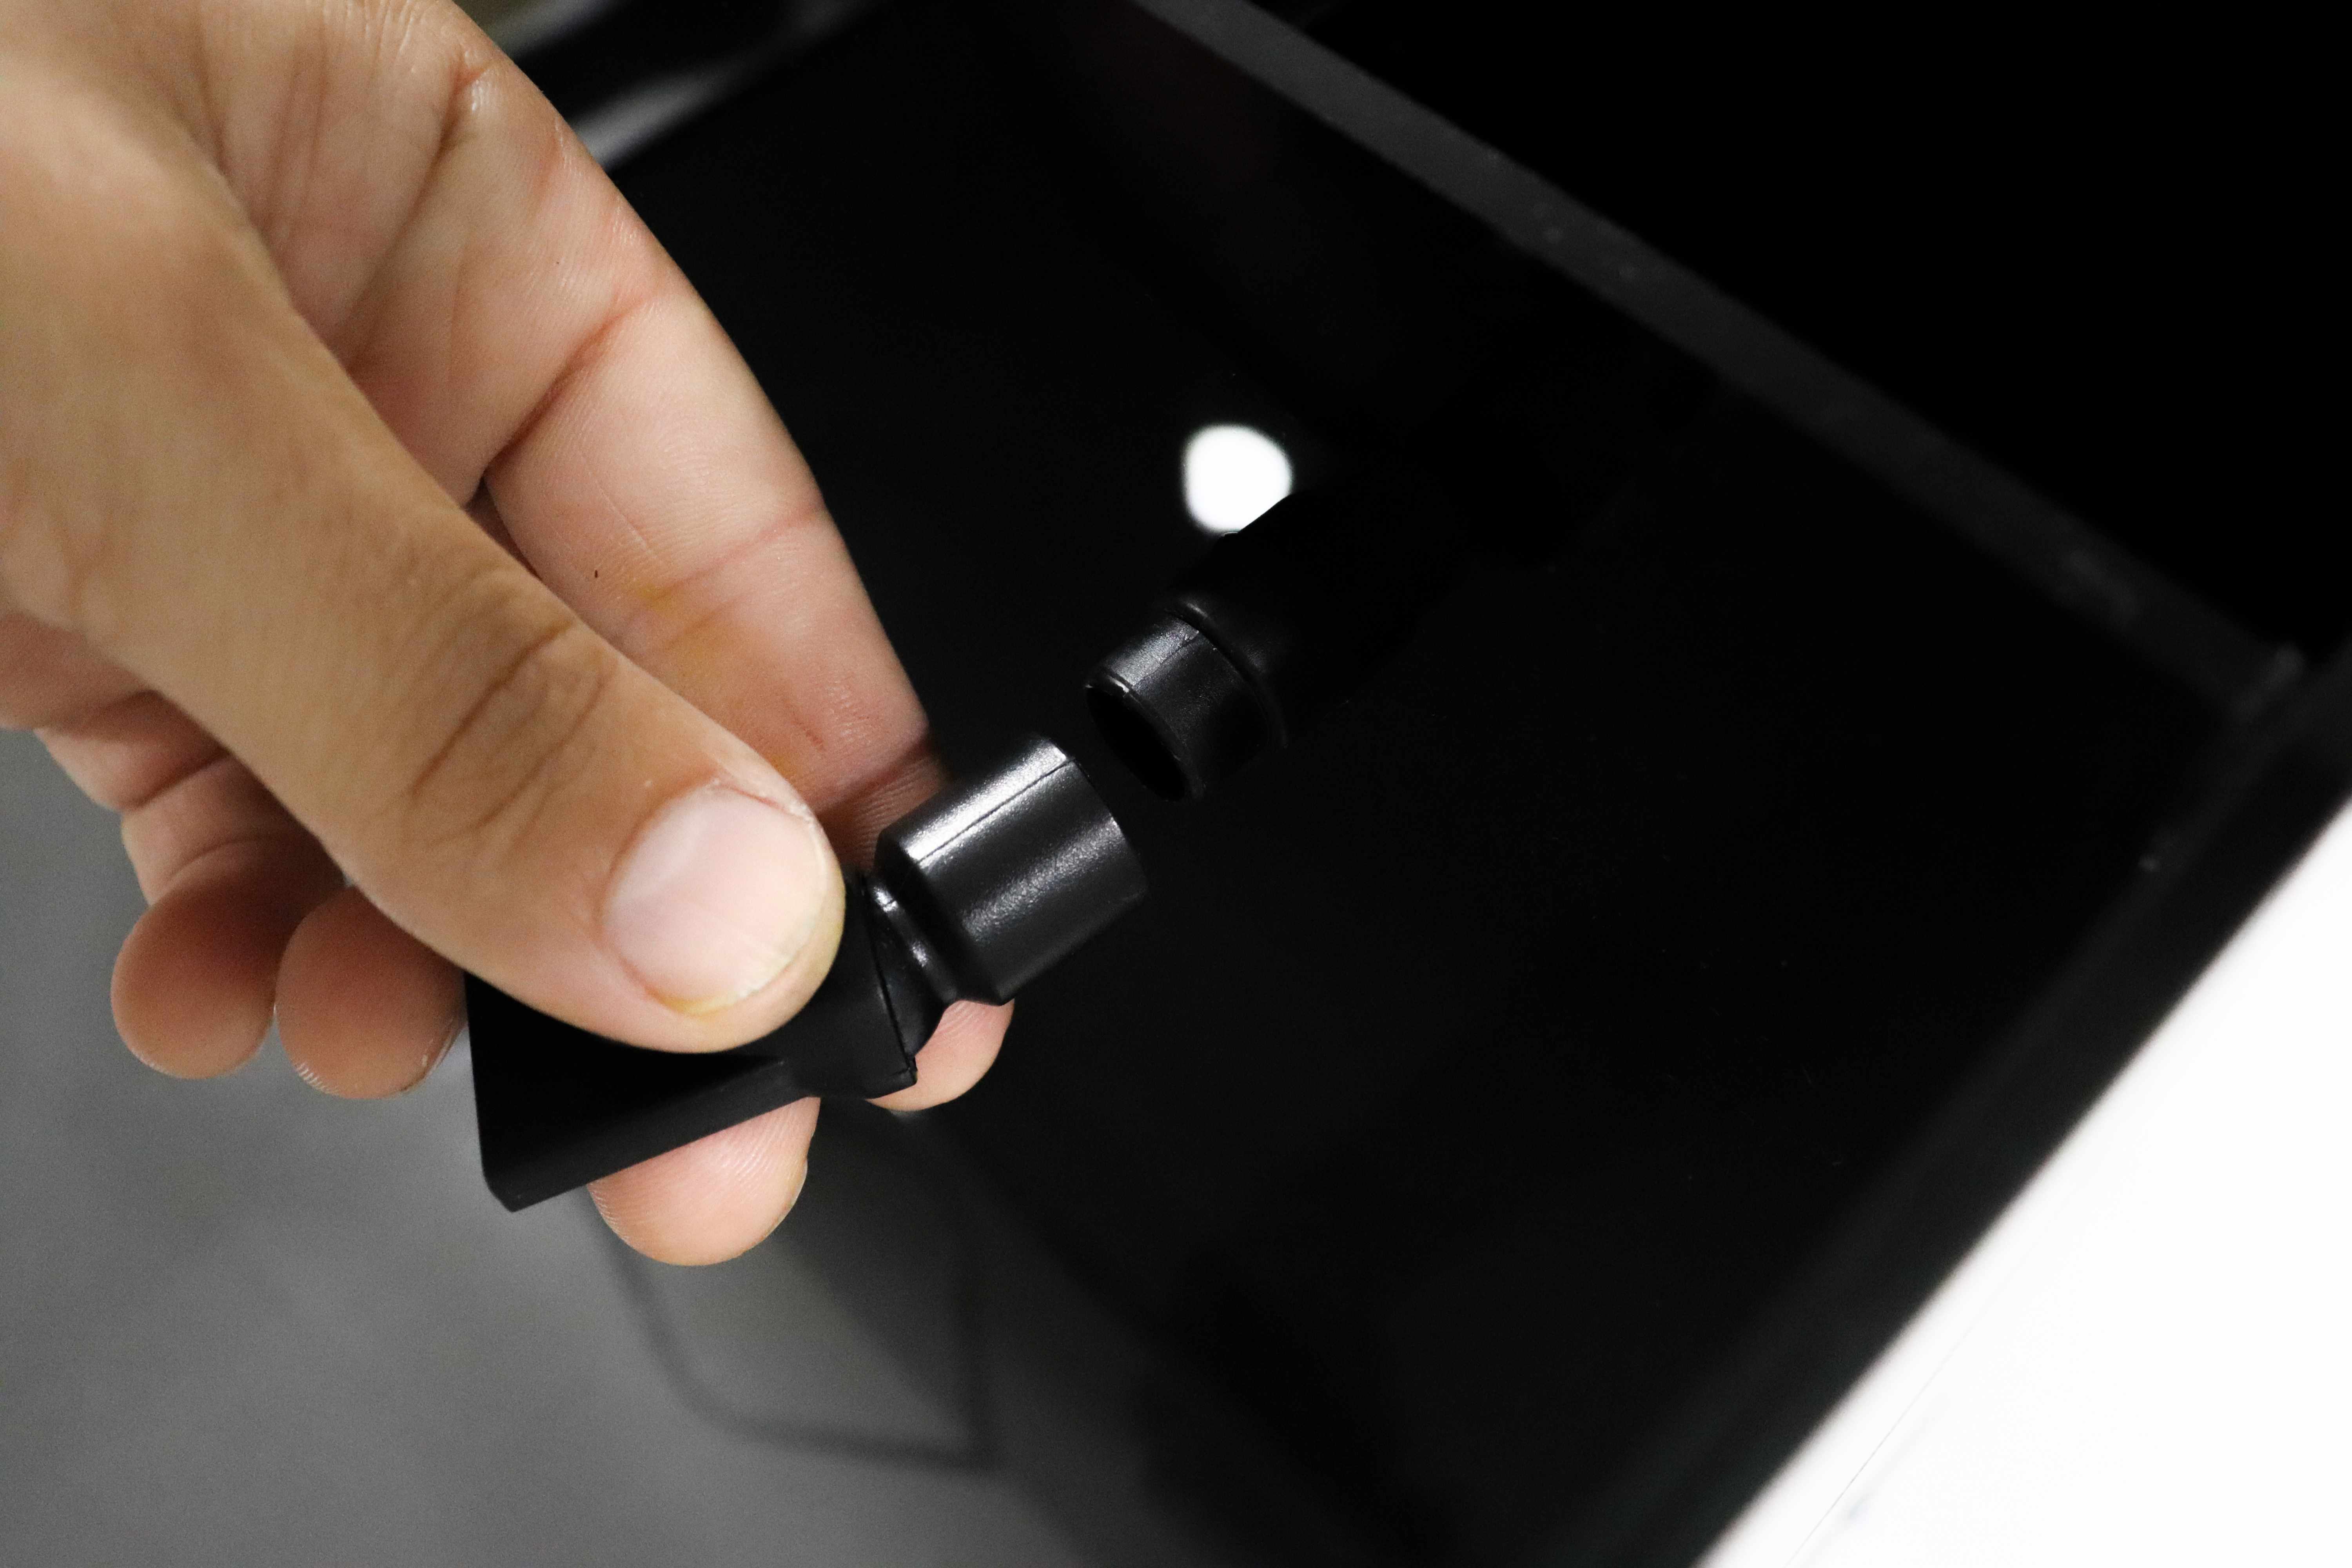
A power bar is recommended as the aquarium will need 3-4 plugs. Once the tank is full in both the front and rear chambers you can turn on the pump. The correct water
Step 12 Adjusting Correct Water Level
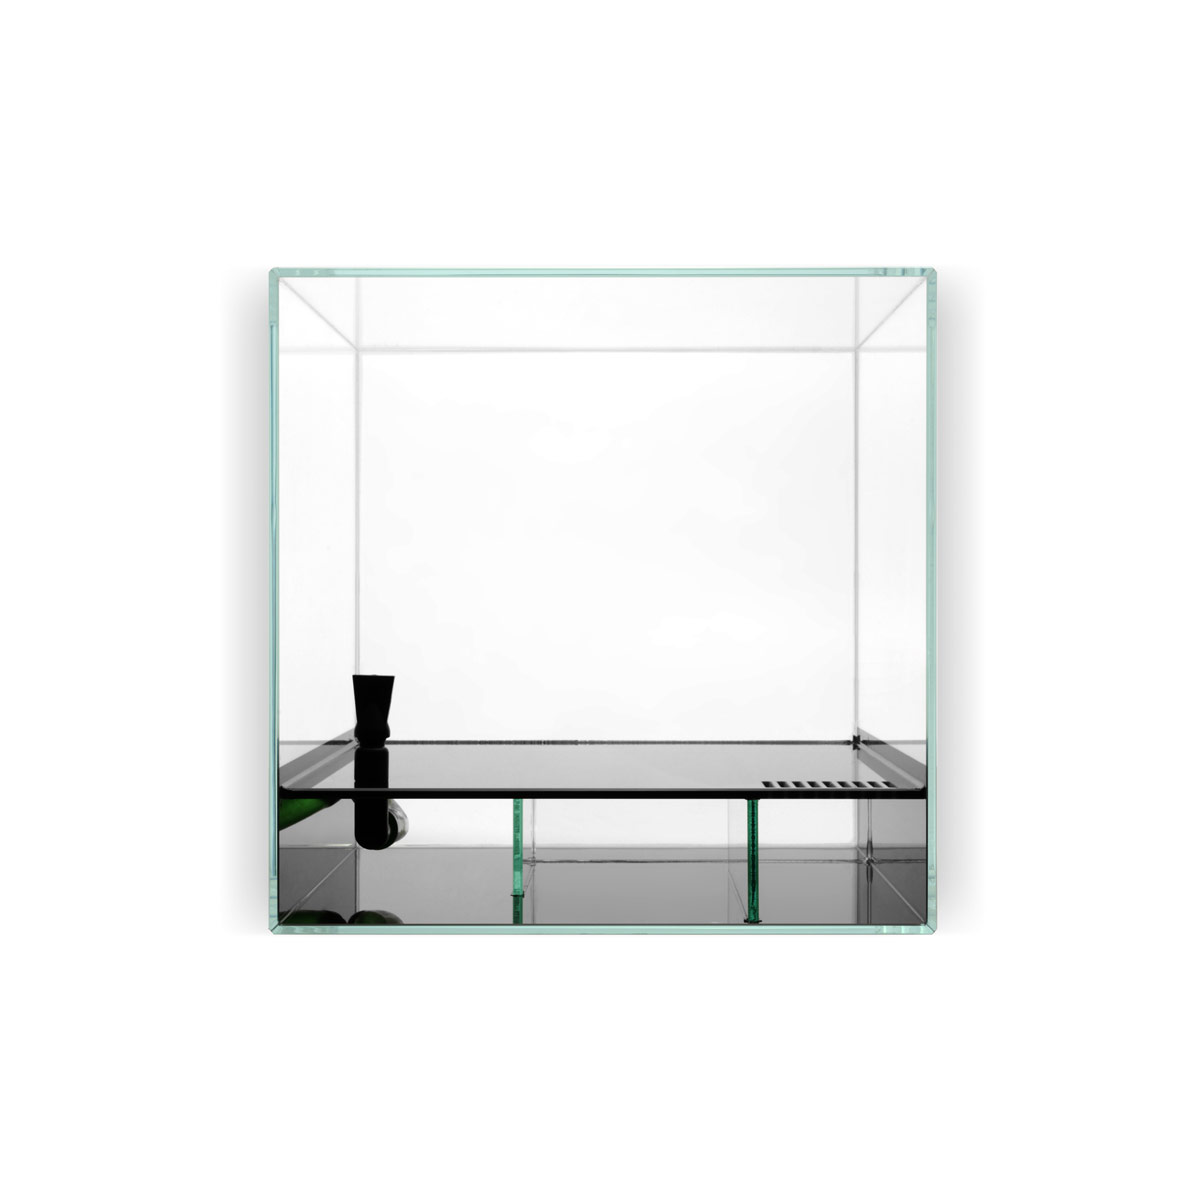 The water level should be set to 1” less than the last glass baffle. The last baffle is the one before the return pump shown in the photo above, its the far left. If the water is higher than it simply remove water, if its too low simply add water.
Step 13 Installing The Heater
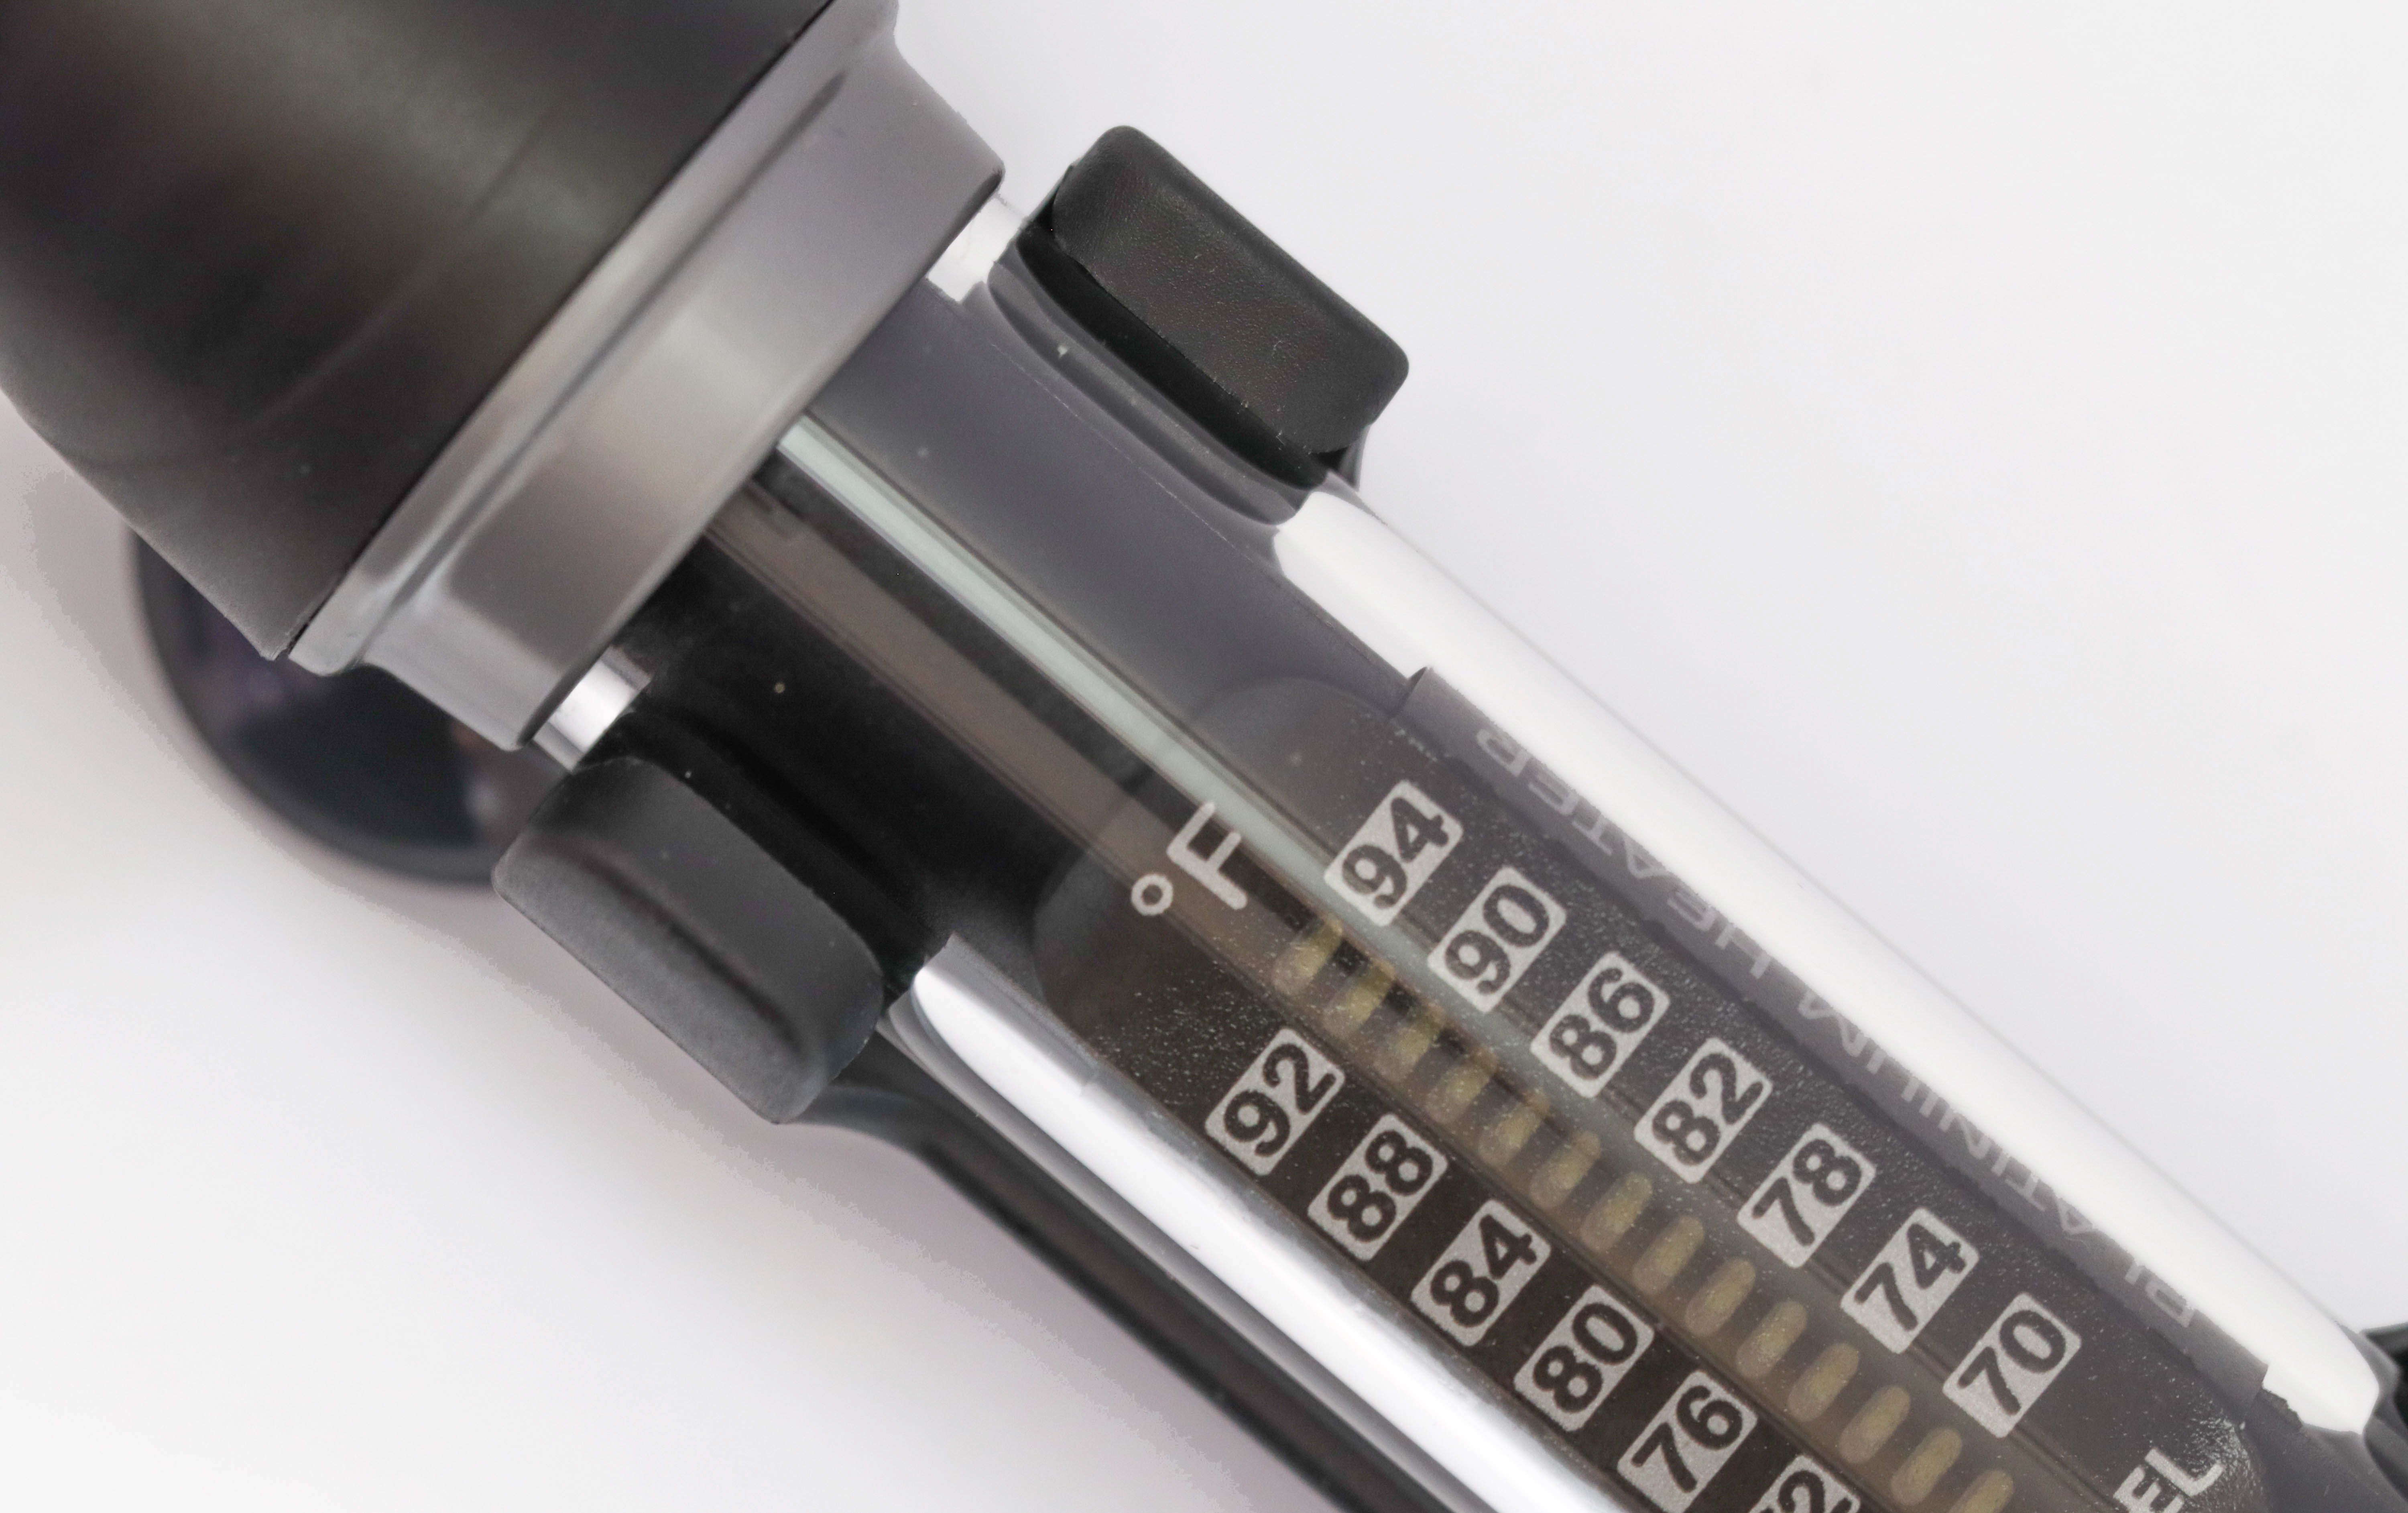
Mount the heater in the second filtration chamber using the including mount and rubber suction cups. On the top of the heater is a button which is used to adjust temperature. We recommend setting the heater to 76-78 degrees F.
Step 14 Adding Life
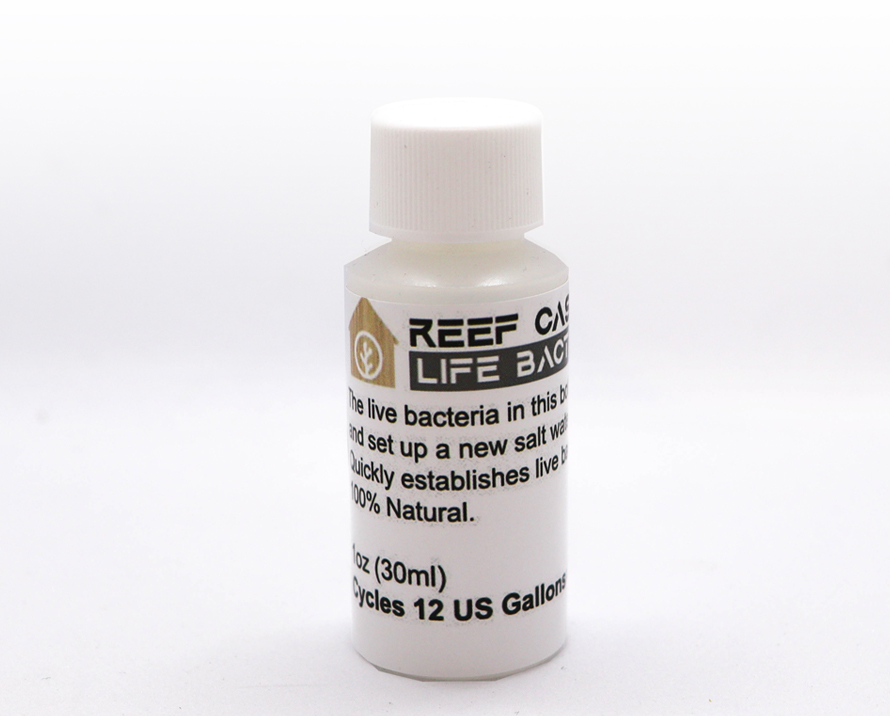 The rock and sand right now are not alive, but we are going to make it alive. Live sand and rock are key to your biological filtration. Click here if you want to learn more about cycling and live rock.
In order to make it live we simply add Reef Casa Life bacteria which is premeasured for your success. The bacteria needs a food source and that’s where the ammonia chloride comes in. Again premeasured for your success.
Shake both bottles well before use and pour the entire contents into the main display area of the tank. Don’t be alarmed if the water becomes cloudy for some time, this is the magic happening. Ensure the saltwater is mixed to the correct salinity of 1.025 before adding.
The aquarium will be cycled and ready for live animals in about 2 weeks.
If you have any questions at all please do not hesitate to contact us here ! There are no silly questions and we are here to serve you on your saltwater adventure.


