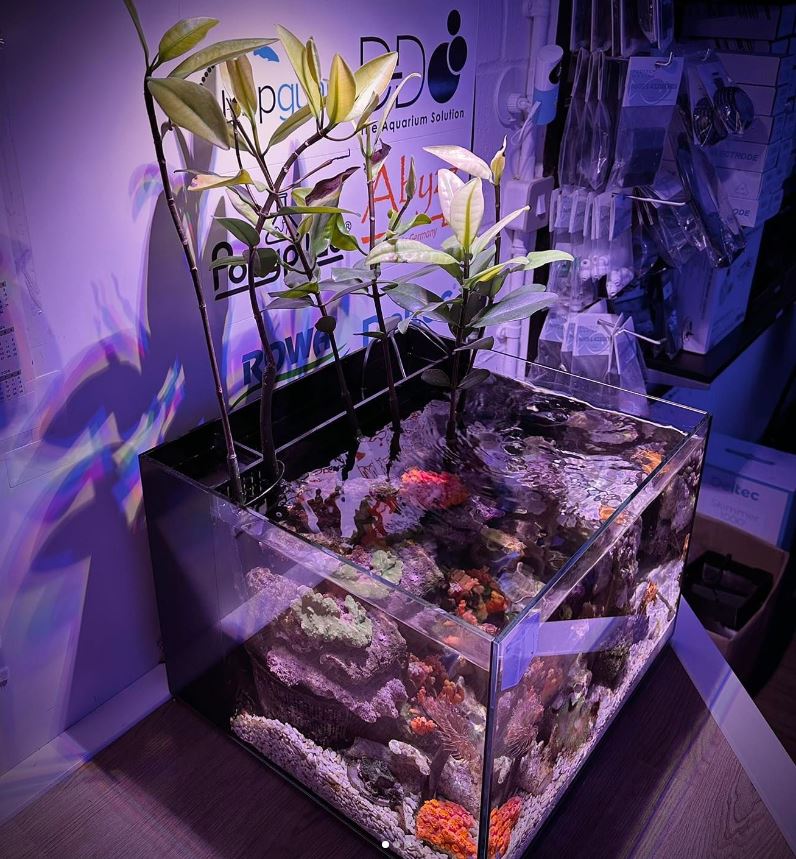
The exciting day is here and your new Reef Casa aquarium kit has arrived on your doorstep and you are ready to take that first step into the wonderful world of reefing. In this article we will explore the steps involved in setting up your new Reef Casa Studio 12 tank. If you chose a different Reef Casa model, the great news is that these instructions can apply to any of our aquarium kits. For a more in depth description of the components and set up of a reef tank kit you can also check out our Start Reefing articles.
The first step is to carefully unpack all the components and lay them out on a flat surface. It might be a good idea to down a blanket or sheet to prevent any accidental scratches. Next find a suitable place to set up your new reef tank. Ideally it should be placed away from heat sources and out of direct sunlight. For larger models an aquarium stand is ideal, but for our smaller tanks a sturdy dresser or bookshelf will do the trick. The next step is to set up the plumbing. Simply cut the hose to the appropriate length depending on the model and then attach one end to the return pump and the other to the return nozzle. Place the return pump in the far right chamber but don’t plug it in yet.
Now that the pump is attached it is time to set up your aquascape. Rinse the included dry rock in fresh water to remove any dust and carefully place them directly on the bottom of the tank, being careful not to drop them. It may be a good idea to experiment with different rock setups on a table or the floor before placing them in the tank. Once you are happy with your rockwork, rinse the premeasured sand and add that to the bottom of the tank, spreading it evenly. At this point you can also add the bacteria blocks to the first (left) chamber.
Now it is time to fill the tank with water. Using the premeasured salt, mix the saltwater to 35ppt and add it slowly to the tank. Once the tank is full, place the heater in the middle chamber and plug it in. You can also now plug in the return pump and adjust the water level as required. Next, attach your chosen light to the back of the tank, ensuring it is centered. Follow the instructions that came with the light in order to program it. Place the filter floss plate and precut floss in the first chamber and you are almost ready to go! Finally, pour in the premeasured ammonia and bacteria to begin the cycling process. For more information on the cycling process please see our article here. It really is that easy!
If you have any other questions about setting up your new Reef Casa aquarium kit please contact us. We are here to help!


